

Words: Liam Friary
Images: Marcus Enno
Presented by Macpac
In this new three-part series, we will give you insights into bikepacking. Last week we covered the bike – and this week we cover the kit/apparel. Next week we will wrap things up with the camp equipment. We’ve had plenty of bikepacking adventures off the grid over the past few years and thought it was about time we shared our tips. Of course, this won’t cover everything bikepacking has to offer but is something to get you started.
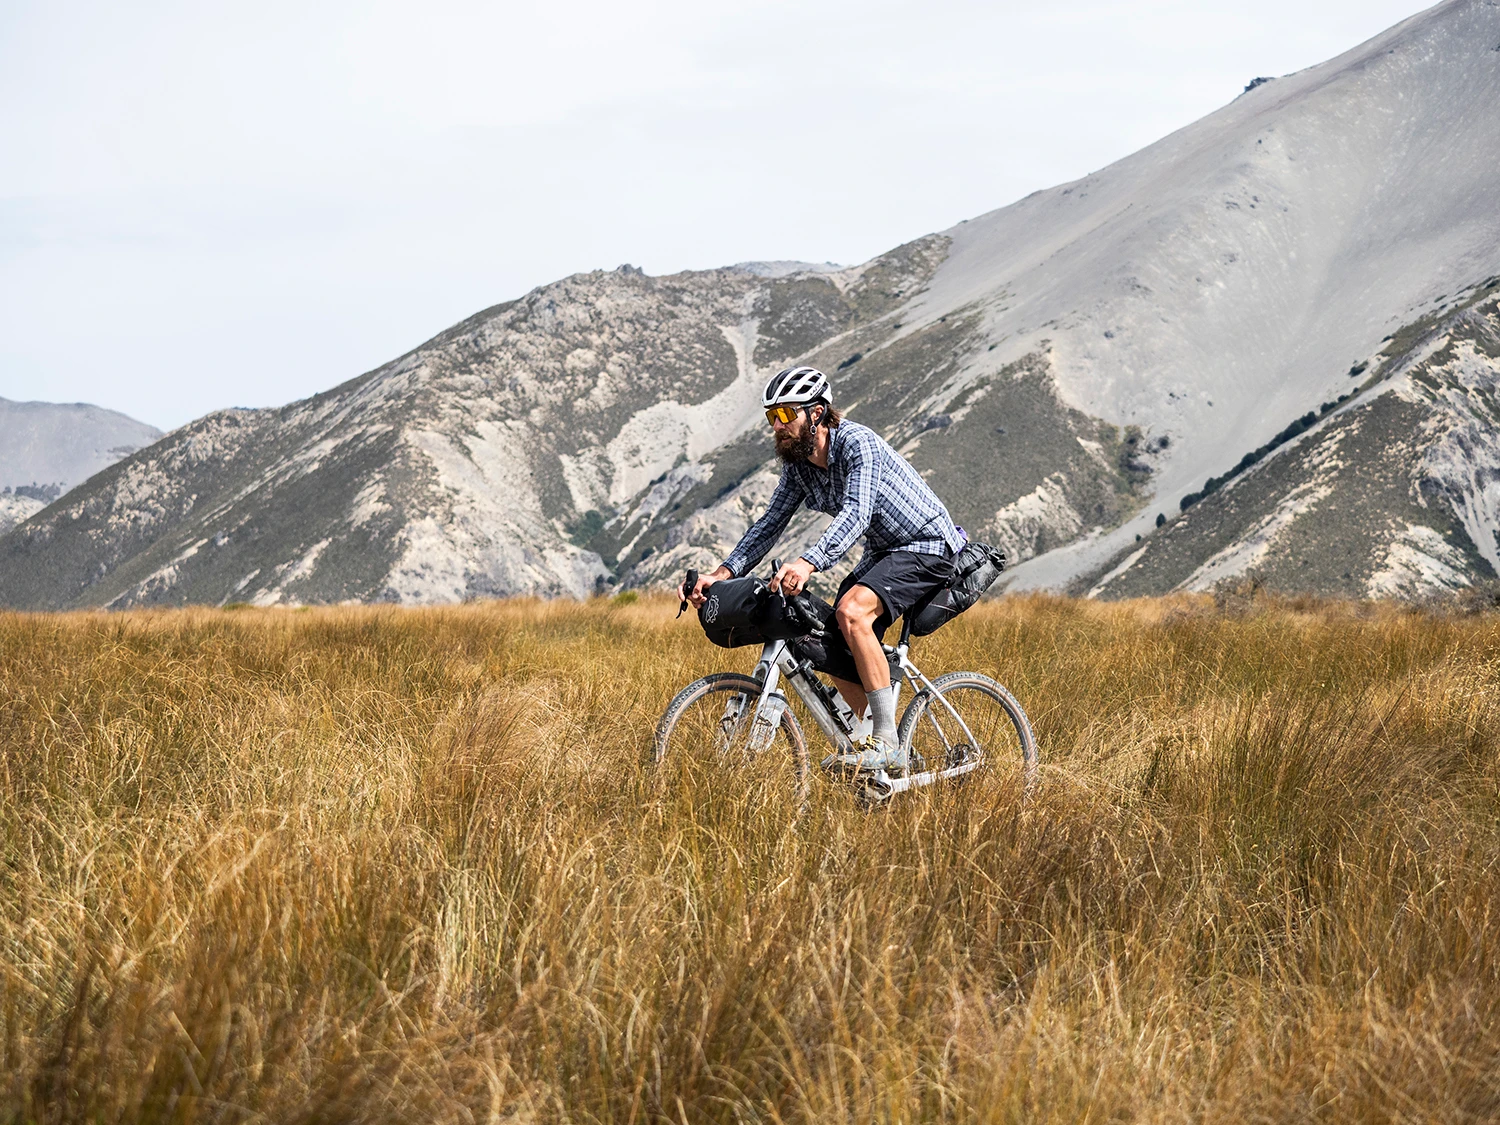
Last summer we took on a self-supported bikepacking adventure over four days in the upper South Island. We wanted to get further and deeper into the backcountry, so camping was the best option. The route took us through Rainbow Station, to St Arnaud then Hanmer Springs and finally onto the St James Cycle Trail. Here’s a brief breakdown of the kit and apparel we used.
Bikepacking Kit Overview
Whilst bicycle touring has existed for yonks, bikepacking has been the trend for those favoring routes that are more remote – think gravel, rough dirt roads and even some singletrack. The routes are demanding, and the equipment needs to meet the demands, it must be light and robust so the traditional four-pannier bike-touring setup won’t really work. Bikepacking bags were designed for this style of riding. The name of the game is lighter and smaller luggage – so the bike can still be agile and fast enough when packed with your supplies and gear whilst tackling the rough terrain.
So, there’s a ton of bikepacking bags out there, many are good, and some are not so good. The main thing you want to ask yourself is – what do I actually need/want to take? – and bear in mind your legs will have to carry the weight of the load! A few more questions to work through are – how many days are you heading away for, is there any accommodation or will you need to be self-sufficient, what’s the terrain, are there any services on route? The list goes on, but you get the point. Basically, before embarking on any bikepacking adventure, do your research. All of this will determine the number of bags and the volume needed.
Bikepacking Bags
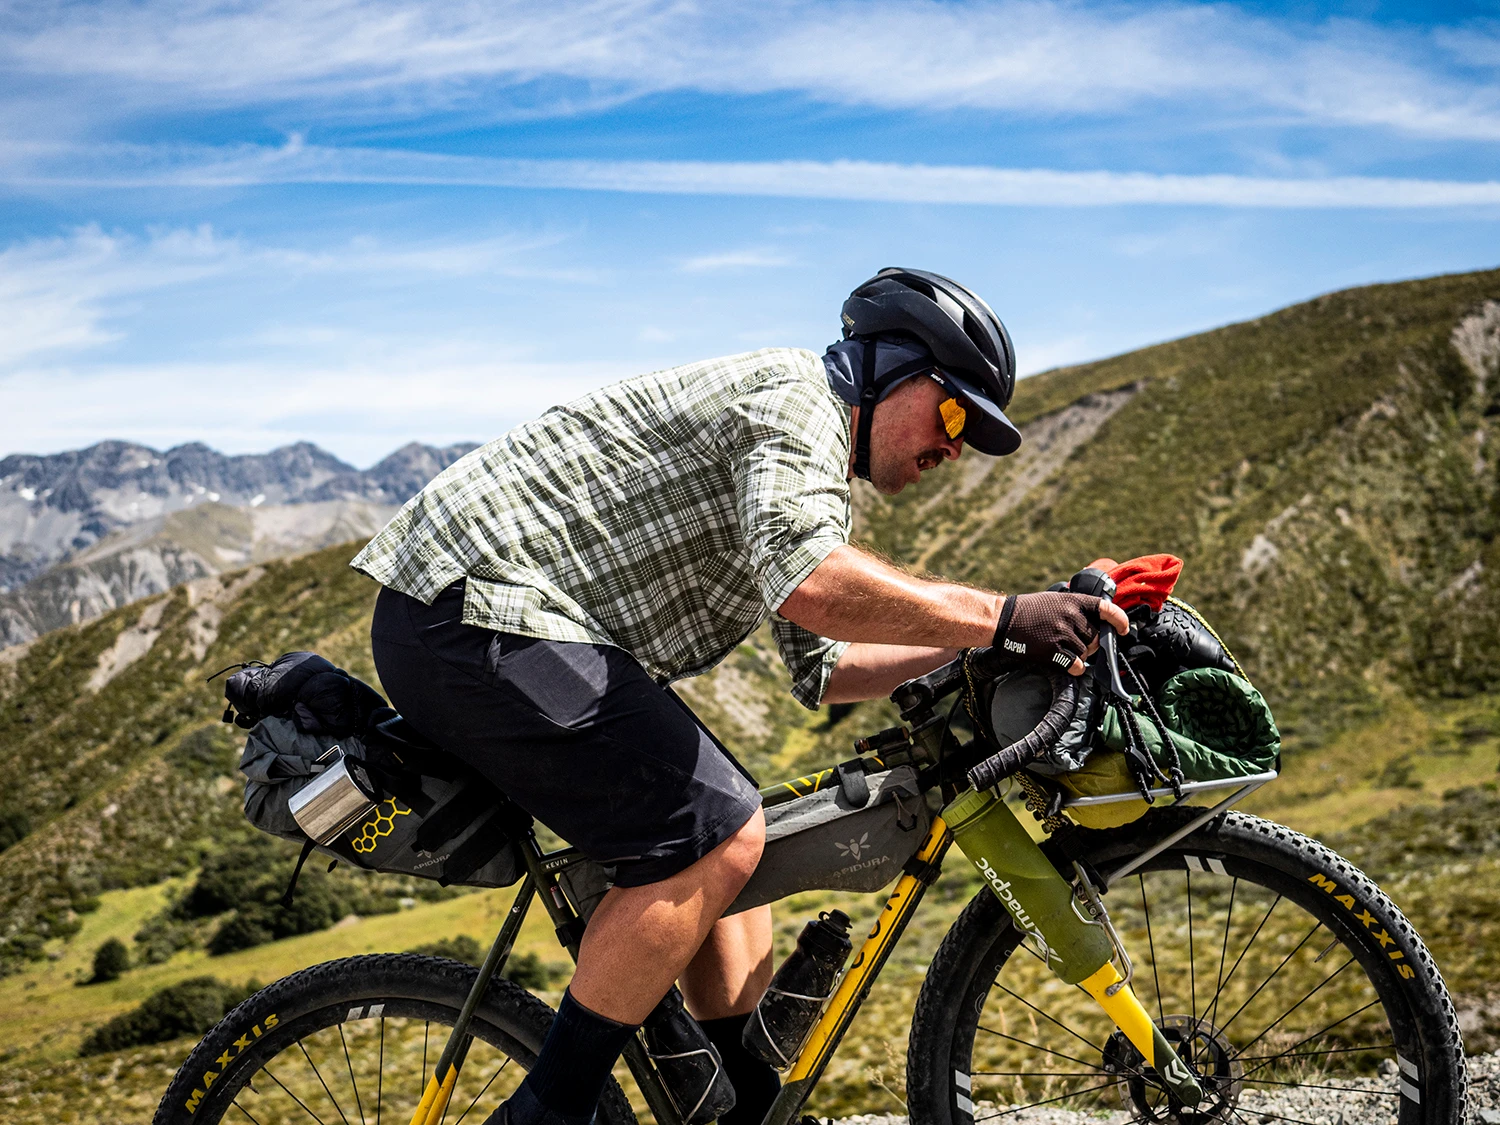
There is a plethora of bikepacking bags available on the market. There’s so much out there that it can be a bit overwhelming to make a bloody choice! It’s worth looking for bags that allow you to keep your load flexible. It’s the ease of access into the bags that’s important – especially at the end of long day when your fatigued. Big volume bags are great for stuffing a lot of things into but they’re not the easiest when trying to find things. I’d suggest multiple bags – some large volume for your overnight gear and other smaller volume for easy access when you’re riding. You’ll need to get at things such as food, another layer/jacket and other essentials. Trust me you don’t want to be emptying your bag contents everywhere and then having to repack them! Durability is another important factor – think straps, bag material, buckles and the like. I’ve had numerous occasions when these things don’t work or break when you’re on a bikepacking trip which isn’t ideal. So, just do your homework and ensure the bags are robust and durable. Lastly, ensure they’re waterproof, we live in a country where it rains often – you want to make sure your bag contents is kept dry. There’s some great waterproofing material out there so again do your research. Otherwise just stuff your things into dry bag and slip inside your bikepacking bag. Here’s a brief overview of the main bikepacking bags available – there’s a ton more bikepacking bags but this is enough to get you started.
Frame Packs – The frame pack was conceived to allow storage within the bike’s triangle – the space formed by the top tube, seat tube and downtube. To keep it attached to your frame it’s tied down with a series of velcro straps. While there are some great pre-made options on the market, some might consider having a custom bag made for their frame. The frame bag is an excellent place to store heavier items as it maintains a low centre of gravity, bear in mind smaller frames and full suspension will have more limited capacities. We prefer to keep the option of mounting two water bottle cages, so use the half/partial–frame bags that are becoming quite popular.
Seat Packs – The seat pack may appear odd to the uninitiated, but don’t be fooled by its looks as this is the key piece in a bikepacking kit. It is often conical, or missile shaped and found wedged under the saddle rails and strapped to the seat post. Seat pack volume ranges from five to fourteen litres. The main benefit over the traditional pannier is less wind resistance and a much lighter weight. When venturing off-road they don’t flap around nosily and if you need to hike-a-bike (walk with your bike), which will inevitably happen, they won’t catch the back of your legs. This is the best investment you can make towards your bikepacking kit.
Handlebar Bags – The handlebars are the most natural spot to store gear. Since the beginning of bicycles, folks have been strapping bags to the bars. Purpose-made handlebar packs go one significant step further by featuring rugged handlebar connections, anti-abrasion patches to reduce damage from and gear levers, as well as additional accessory pockets. The rule of thumb is to keep front load relatively light, or your bike’s handling will suffer. Trust us, you don’t want to have a heavy load up front!
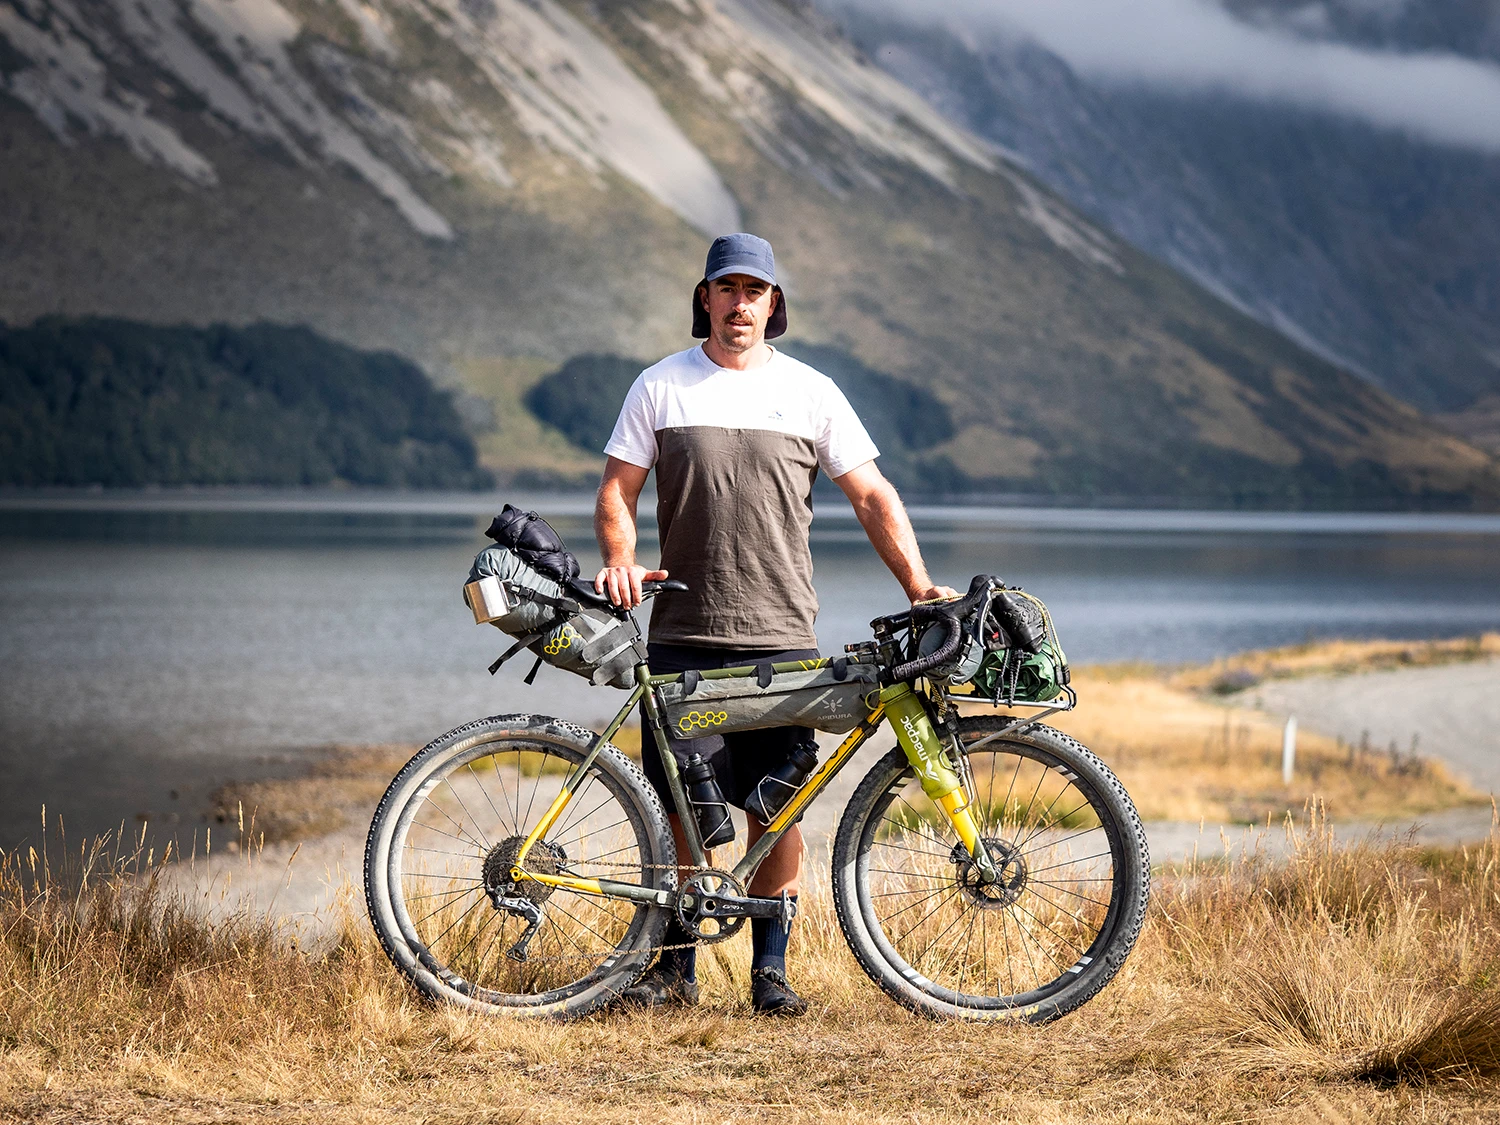
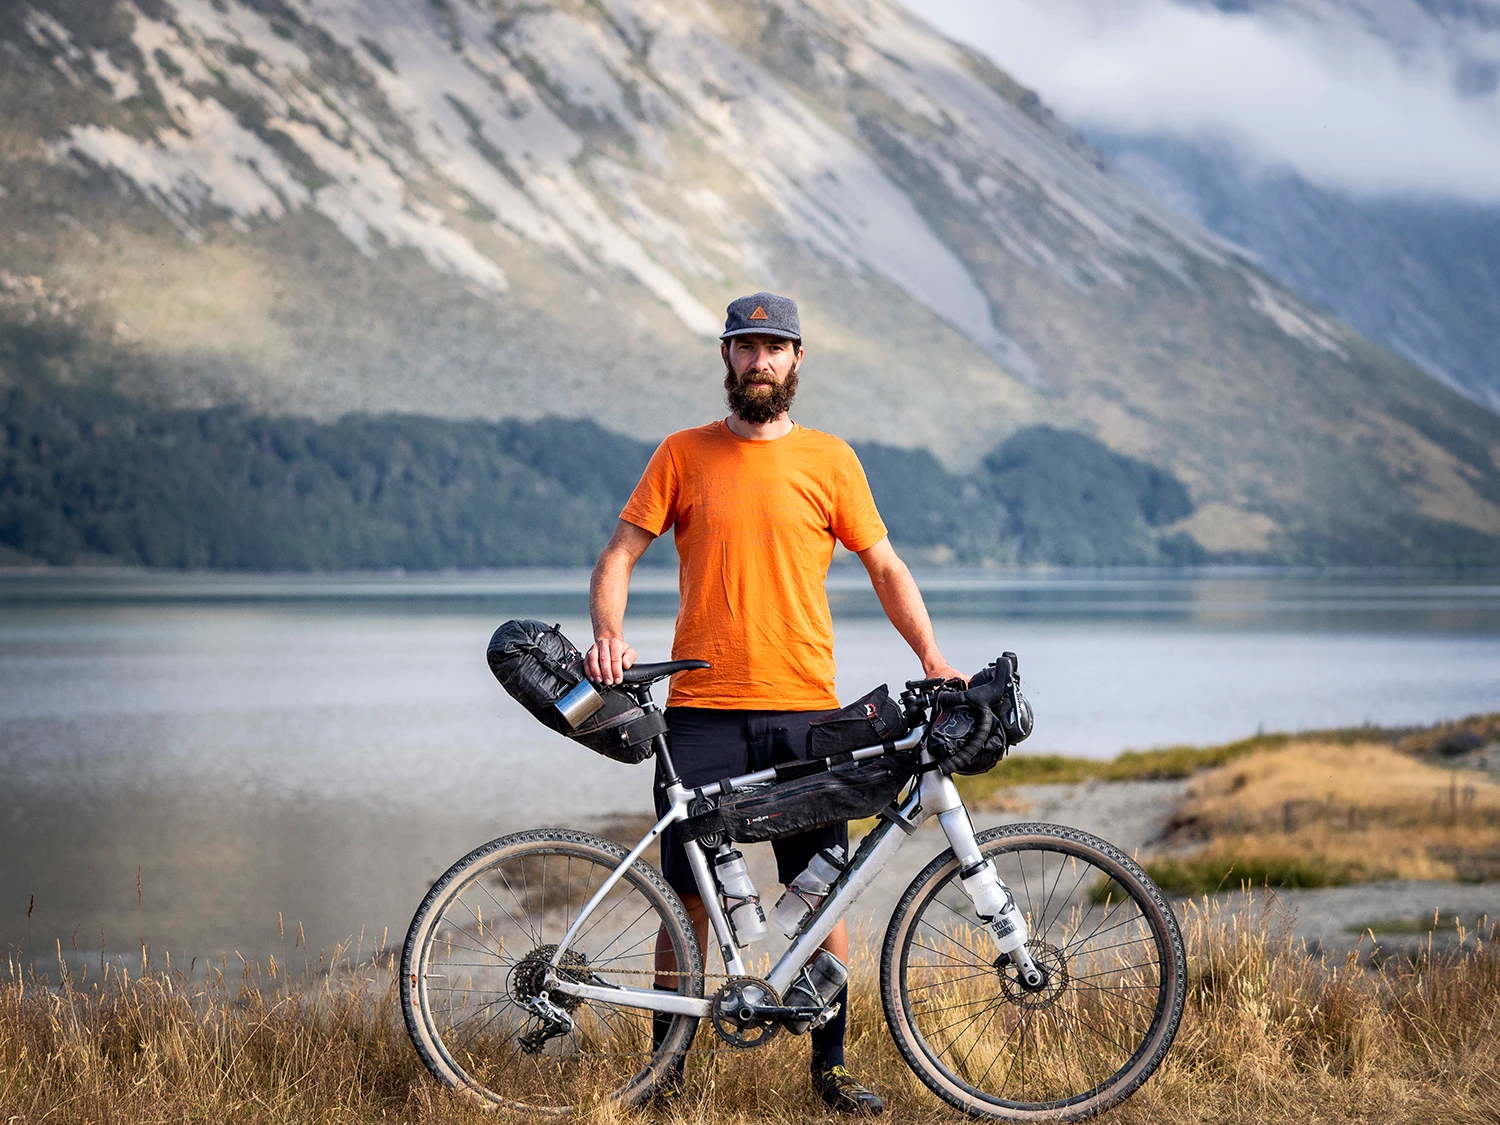
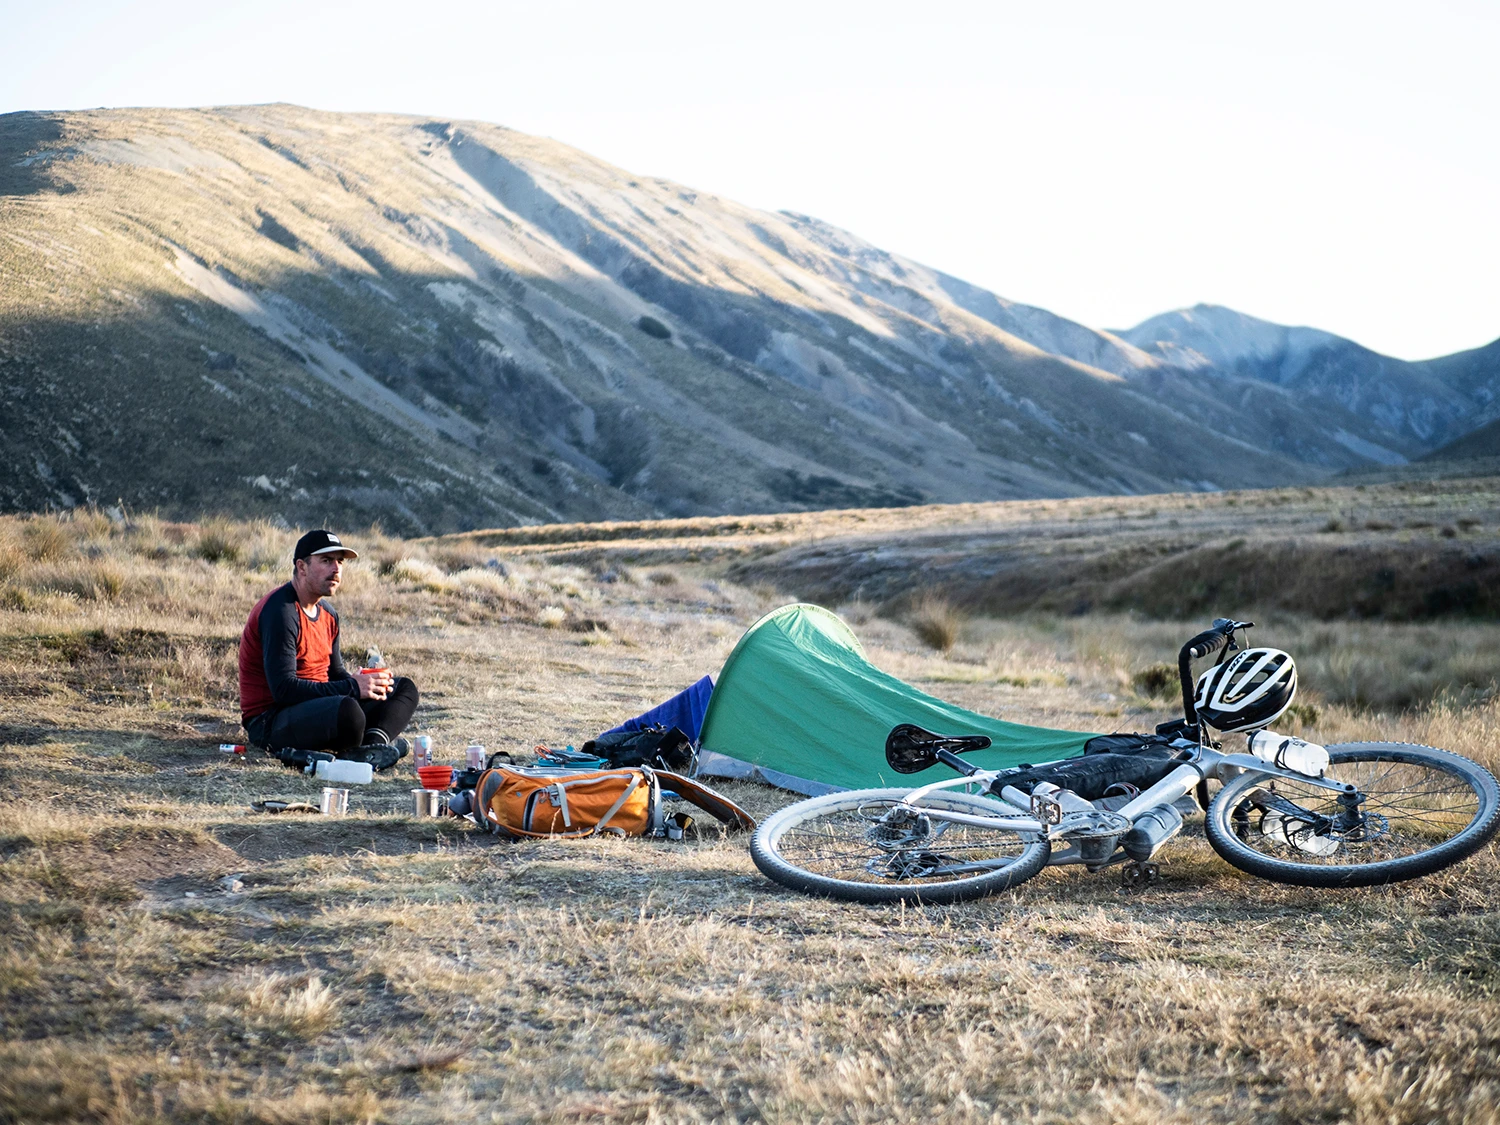
Our Bikepacking Bag Setup
It’s fair to say that gravel and all-road bikepacking is gaining in popularity. And rightly so given the versatility of these bikes. They’re ideal for unearthing forgotten gravel roads, tying in a little singletrack and generally escaping the busy streets. Both of the bikes we used on this trip were gravel bikes. Below is the combination of bags we used on our upper South Island bikepacking adventure.
Curve Kevin
Front Rack: Surly 24-Pack
Handlebar Bag: Apidura Expedition 9L
Frame Bag: Apidura Backcountry Compact 4.5L
Saddle Bag: Apidura Expedition 14L
Kona Libre CR
Handlebar Bag: Revelate Sweetroll – Medium
Handlebar Bar Bag: Revelate Egress
Frame Bag: Revelate Tangle – Medium
Top-Tube Bag: Revelate Mag-Tank
Saddle Bag: Revelate Terrapin 14L
Bikepacking Apparel Overview
It’s fair to say – there’s no bad weather, only bad clothing choices. And with a climate like ours you need to ensure you’ve got all bases covered – especially when you’re amongst the mountains. But packing for a multi-day bikepacking focuses the mind like nothing else. The knowledge that you have to lug everything with you up all the hills forces you to think very carefully about every single item. A single, reliable, super-versatile product like a merino tee-shirt or long sleeve shirt that with some canny layering can be worn every day in all conditions takes out a lot of cycling kit-related guesswork. As does comfortable and robust shorts, a good vest/wind breaker and a descent rain jacket. Cycling bib shorts are also a must and will provide comfort for those long days in the saddle. Off the bike think merino leggings, tops and a pair of warm socks. Below is the combination of Macpac apparel we used on our upper South Island bikepacking adventure.
Macpac Nazomi Jacket
Macpac Strider Hybrid Vest
Macpac Transition Rain Jacket
Macpac Escape Merino Hoody
Macpac Uber Light Down Vest
Macpac Brand Merino 180 Tee
Macpac Great Walks Merino 180 Tee
Macpac Limitless LS Tee
Macpac Ranger Shirt
Macpac Merino 180 Long Johns
Macpac Merino 150 LS Top
Macpac Trekker Pertex Equilibrium Softshell Shorts
Macpac Legionnaire Hat
Macpac Vintage Cap

Our Favourite Macpac Garments
This bikepacking trip was done during February, which is in the hight of our summer. We needed to ensure the garments were suitable in the warmth of the day but would also work to keep us warm once the temperature dropped. We particularly liked these pieces and found them as a go-to garment for the duration of the trip.
Macpac Legionnaire Hat – I don’t normally run these hats under my cycling helmet but found this hat ideal for keeping the suns rays off my face and neck. It also helped absorb the sweat. The old school style factor is a bonus!
Macpac Brand Merino 180 Tee – There’s nothing quite like wearing a tee on a bike it just feels so liberating. Ensuring minimal luggage is on your back also helps with fatigue – this is bikepacking so put your gear in the bags not on your back! I’m a big fan of merino it’s a good insulator in slightly cooler weather, which is what we started our day in. It also breathes incredibly well and is – slightly counterintuitively since it’s wool – one of the coolest fabrics to wear in hot weather, although bear in mind it does absorb moisture more than synthetic materials.
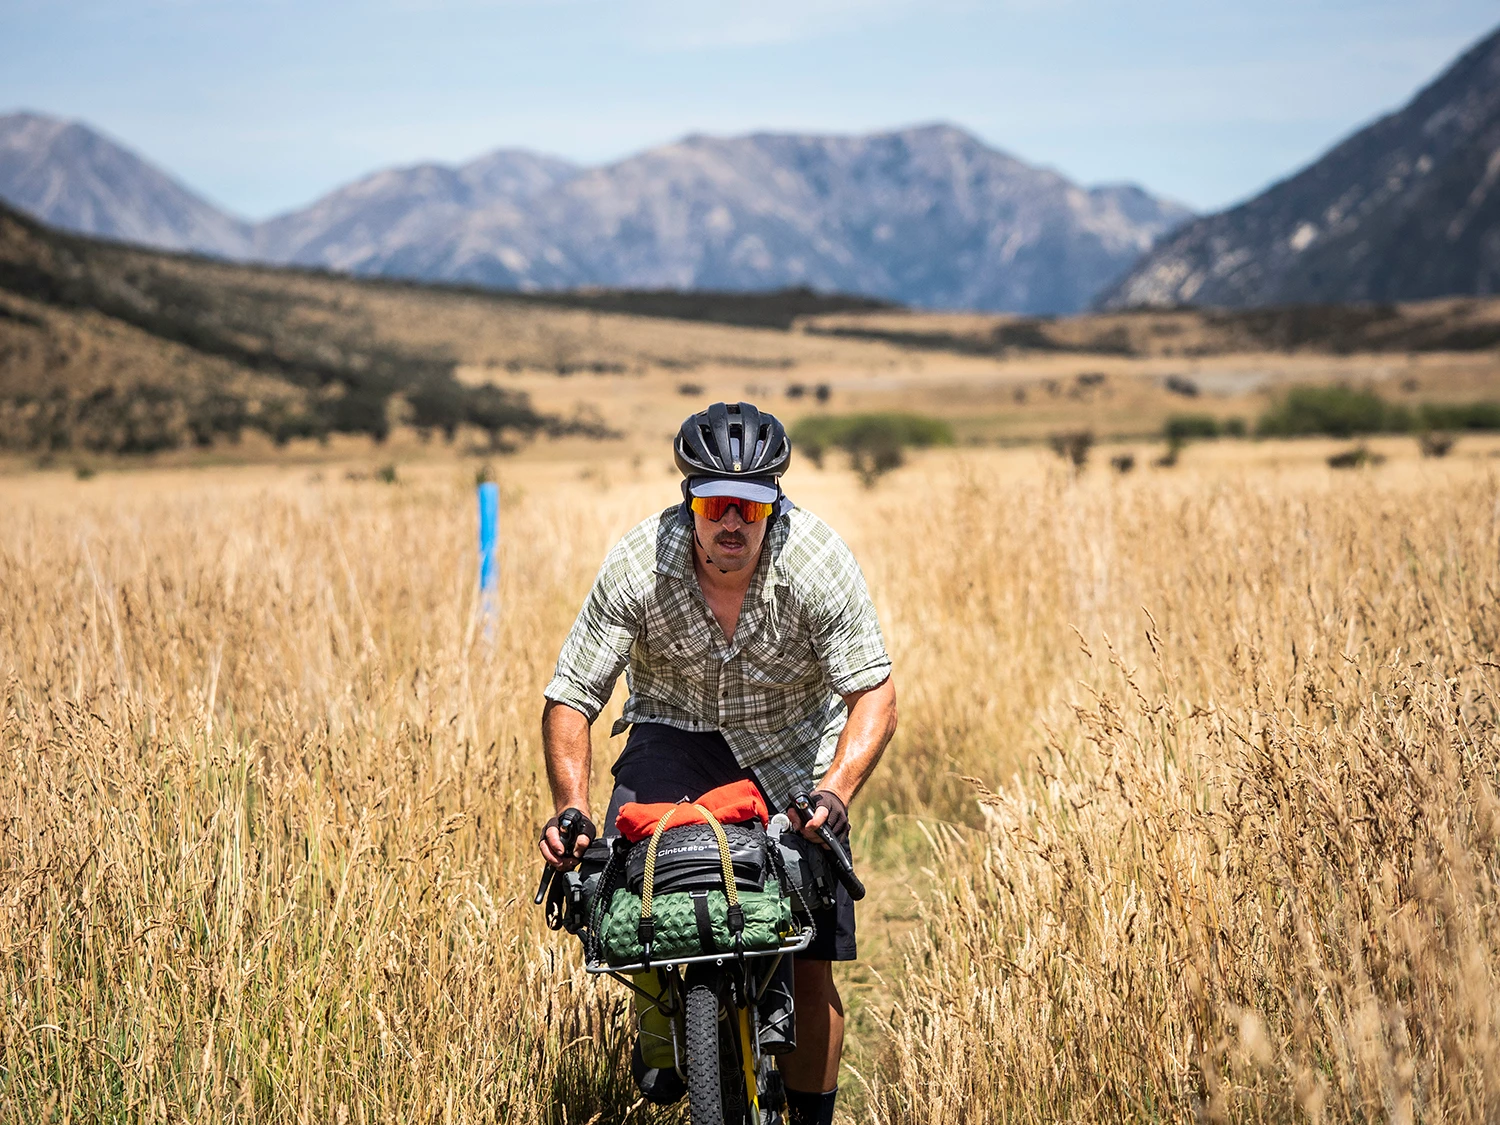
Macpac Ranger Shirt – This long-sleeved shirt is super versatile. Great on the bike and can be worn in the pub. This ultralight shirt keeps the sun’s rays with a UPF 50+ fabric rating. It’s made for adventure with its dual pockets to stash items in and multiple options to roll the sleeves up. They use Polygiene® odour control technology which keeps them feeling fresh hence why we lived in these shirts for the duration trip.
Macpac Trekker Pertex Equilibrium Softshell Shorts – The are the best shorts ever! So damn comfortable with the right amount of stretch. They work so well for riding and doing almost everything else in them. We flew down to the South Island in them, bikepacked in them and returned home in them. They didn’t faulter once and took all the abuse we could throw their way. These are by far the best item we had on the trip.
Stay tuned for our third instalment of the bikepacking gear guide coming on 7 October. In the third guide we will be covering bikepacking camp equipment.