

Words: Liam Friary, Cameron Baker and Cameron Mackenzie
Images: Cameron Mackenzie and Marcus Enno
This is our second edition of our bike build series, in which we feature the latest goods and/or the fruitiest parts, then build up a unique frameset. To be honest, we have had the Curve Kevin frame set hanging around in the garage for far too long. So, when the announcement came for the new Shimano GRX (gravel group set), I knew it would be the perfect match. After a few emails, brews and meetings, we finally got a delivery of the new GRX group set from Shimano.
The Concept
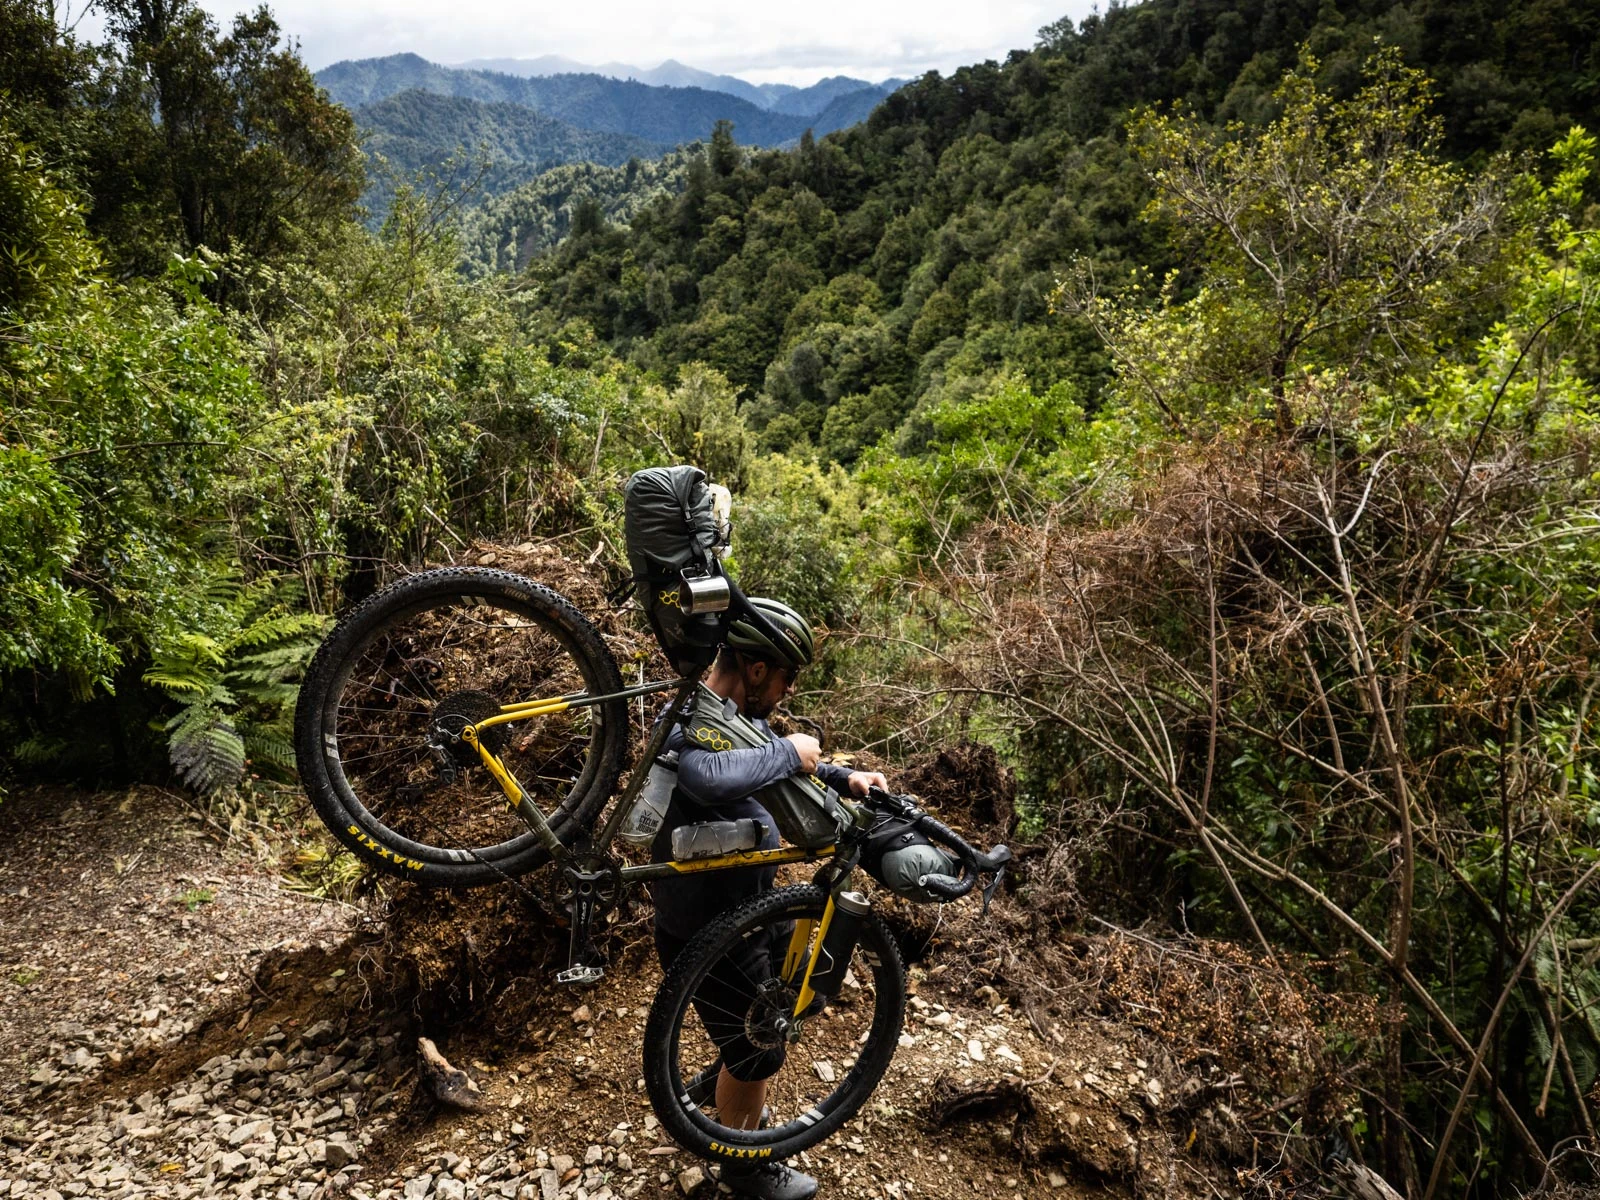
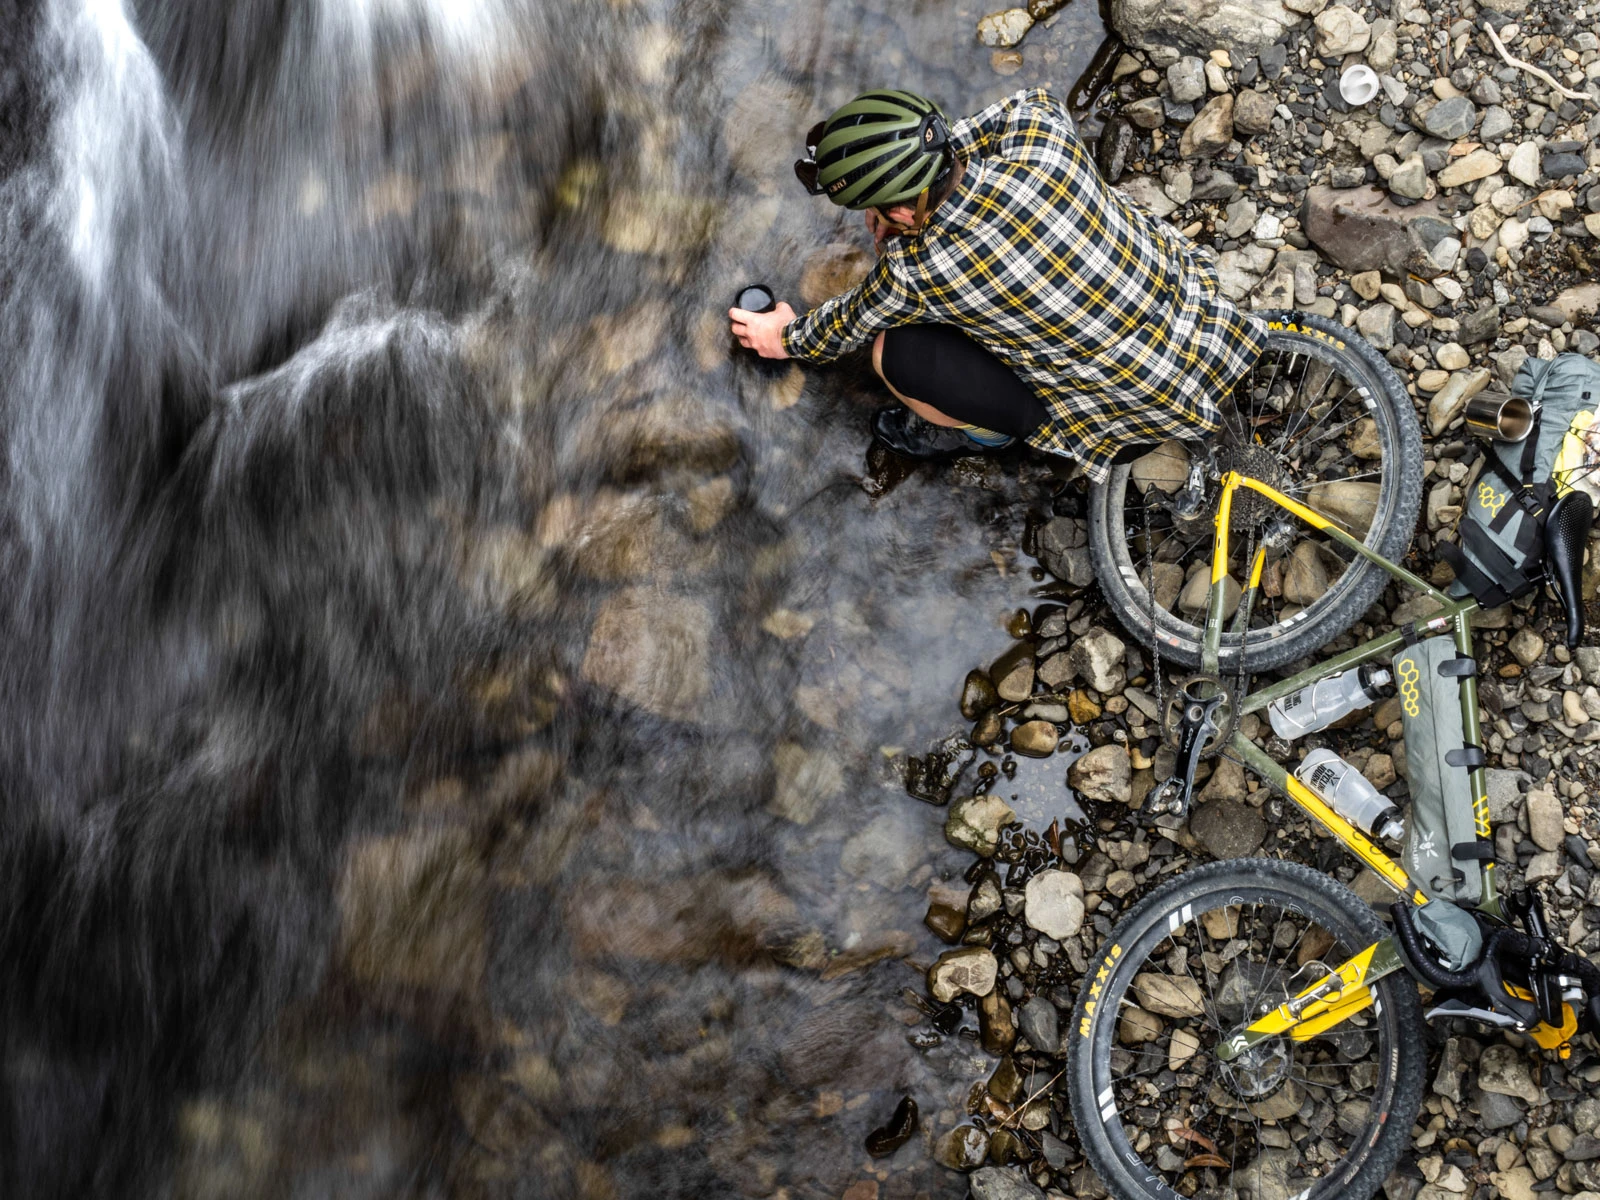
I wanted to build a bikepacking bike that could be taken anywhere. Lately, the routes I’ve been devising are not just on sealed and gravel roads, but can be anything from access roads and 4WD tracks to walking and mountain bike trails. As I search to get deeper (beyond the gravel roads) and further into the backcountry, it’s become evident that I need a more capable bike. I basically want a do-it-all bikepacking bike that I can take anywhere, at any time. It needs to be functional, take a ton of abuse, and be a pleasure to ride (for hours and days at a time). The main function would be to have this rig parked up and ready for hauling. It’s not too dissimilar to an off-road 4WD, parked up and ready for adventure, with a snorkel, raised suspension, mud-flaps and big tyres. Ultimately, and above all, the bike must be robust and incredibly reliable.
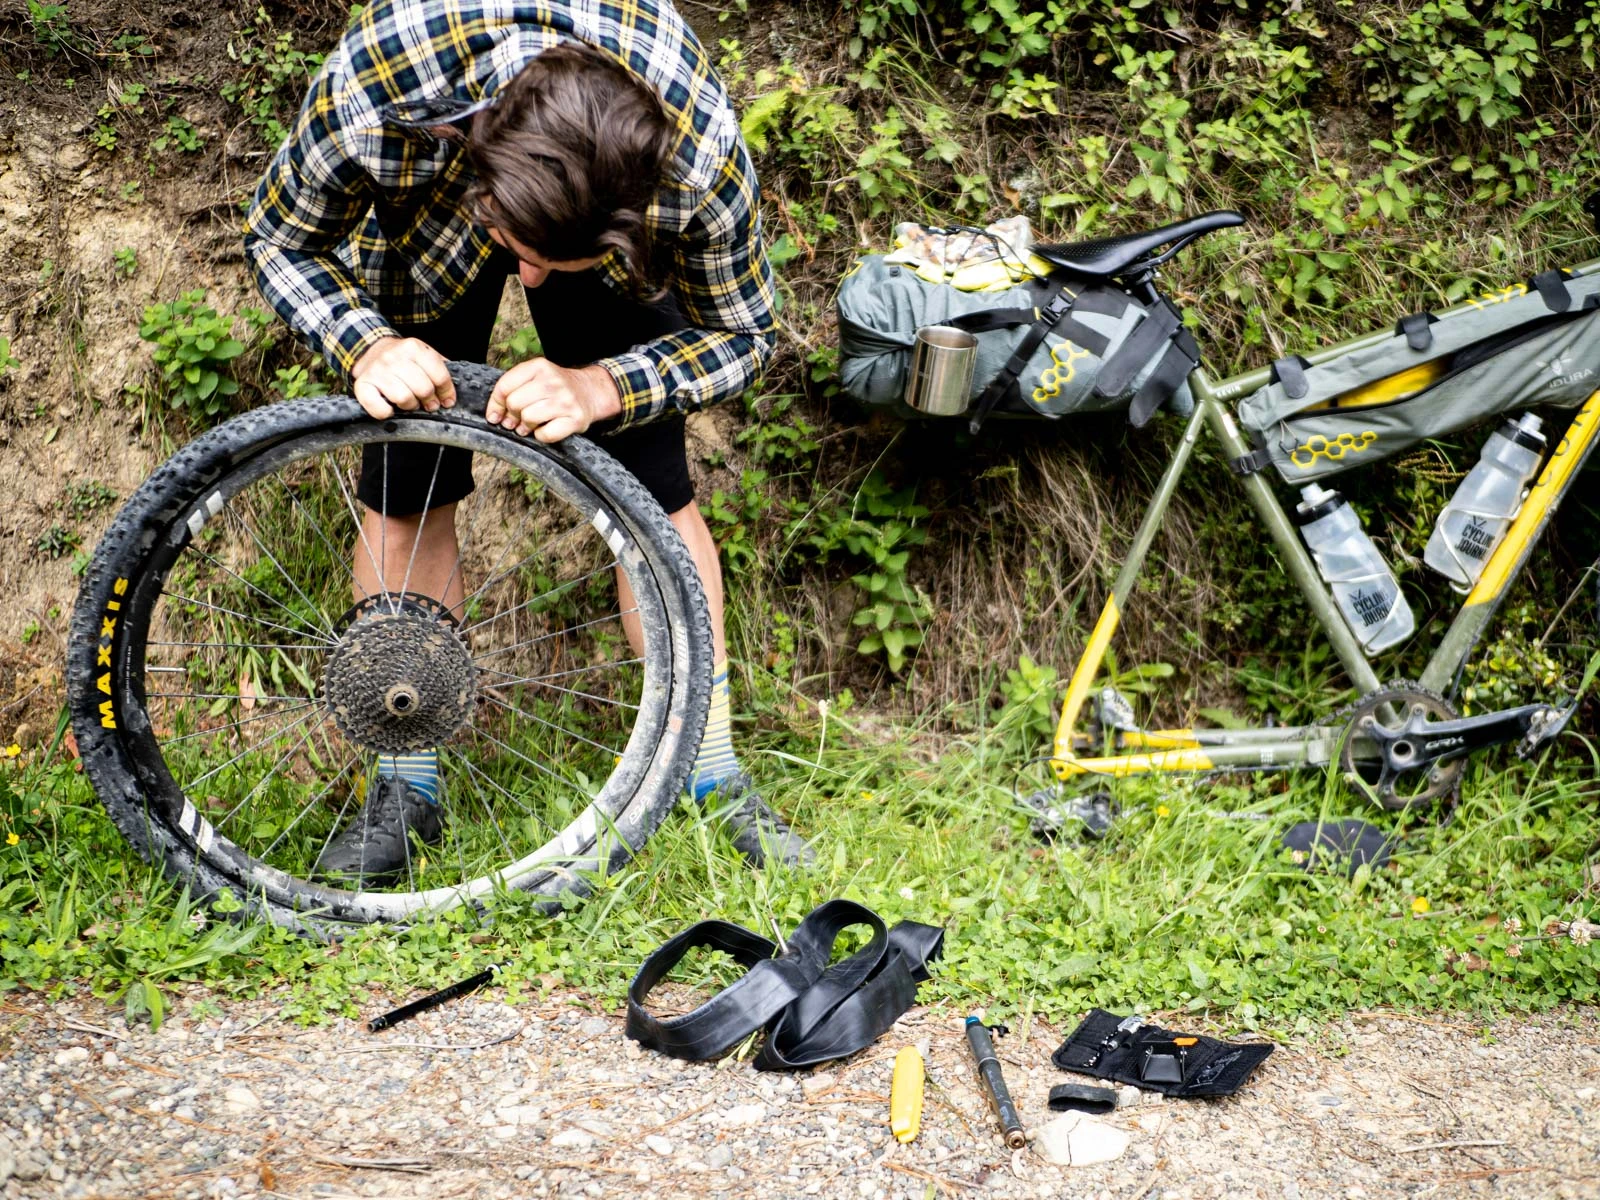
I’ve had past experiences where bikepacking trips have gone sideways. These learnings have lead me to think about my equipment. When you’re on a trip in the middle of nowhere, guess what – there’s no bloody bike shop (or even a dairy sometimes)! One trip, last summer, my wife and I ran into problems and were both made to limp home for the last two days of the trip. My wife had her derailleur turned inside by a bit of driftwood, and I had my Shimano Dura Ace Di2 gearing fail, with wiring issues, after seven odd hours hike-a-biking and riding across some severe mountainous terrain. Of course, there was nothing that could be done with the derailleur as these things can happen, but the Di2 wiring was an issue. Not to mention, sometimes having to carry the charger in-case the battery loses charge. So, for this build I wanted mechanical gearing; being able to fix something whilst in the back of nowhere, is a must!
The Bike
Gravel bikes have exploded onto the market over the past few years. I needed this rig to be capable, reliable and robust for any adventure thrown at it. For me, the frame material choice was always going to be steel. The archetypal frame material, steel has been around since the earliest days of cycling and while riding a steel frame bicycle has a certain romanticism to it, the steel bikes of today are a far cry from their heavy ancestors of yesteryear. Today’s steel frame bikes embody the perfect balance of ride quality, durability, repair-ability, environmental sensitivity, design flexibility, and aesthetics. Our Trans-Tasman friends at Curve, an alty boutique bike company, that is fundamentally about adventure riding and community, have developed the Kevin; what a name?! As I’ve become familiar with this bike, I’ve renamed it to:; Uncle Kev. This version is the Kevin of Steel (they have another version which is Titanium) and the steel is none other than Italian-made Columbus tubing; the masters of frame building.
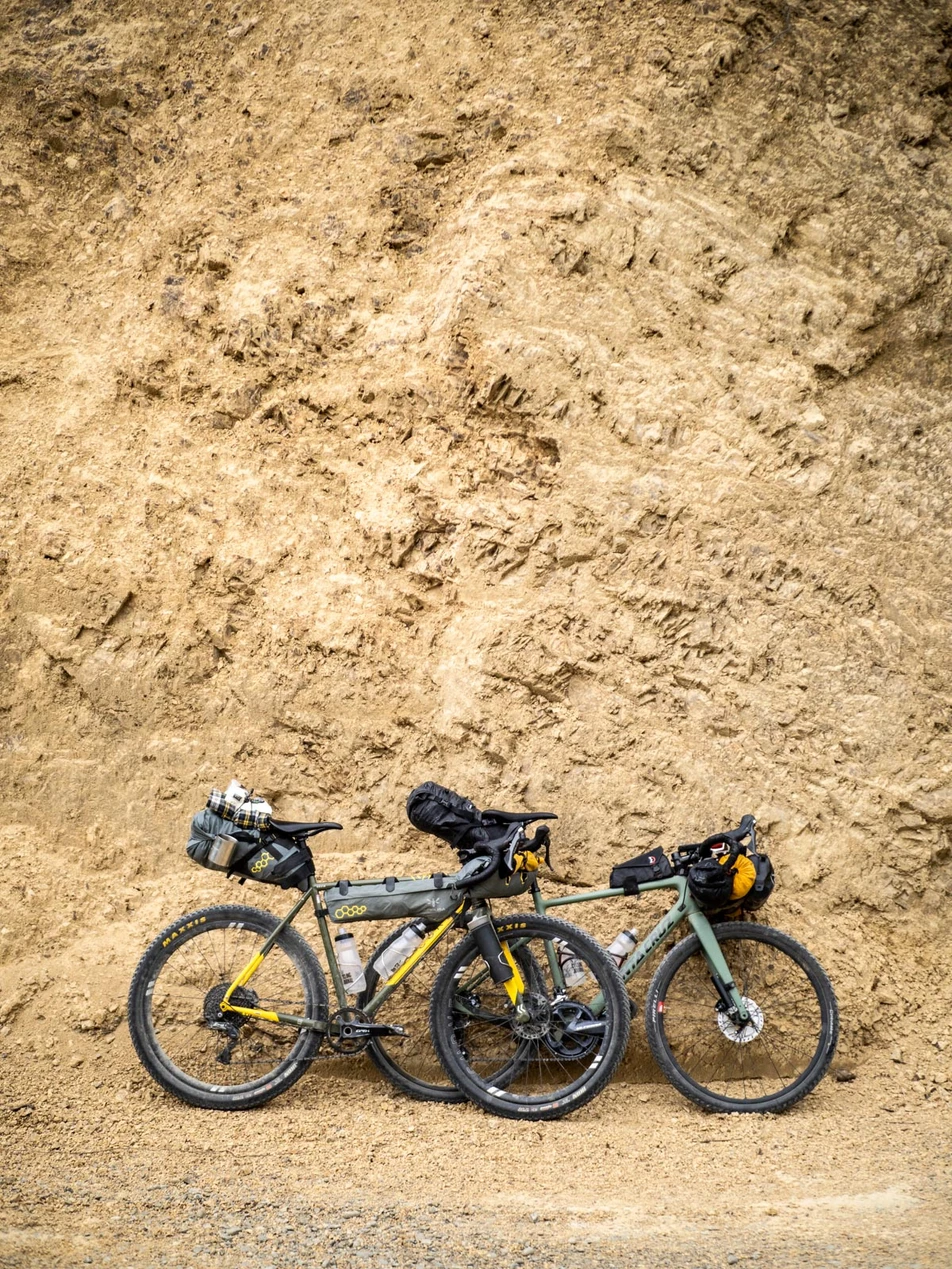
Firstly, the tyre clearance is built to handle anything from a from 700c 28-45mm to 650b (27.5”) with 2.2” rubber. This means you can effectively have two bikes in one. My main purpose, however,was to have this rig ‘adventure’ – so, the biggest rubber possible! The frame has also been well thought- out for hauling, as there’s rack and fender-ready frame and fork micro-panniers. The Curve Ride and Seek fork carries up to six kilograms of cargo for those longer adventures.
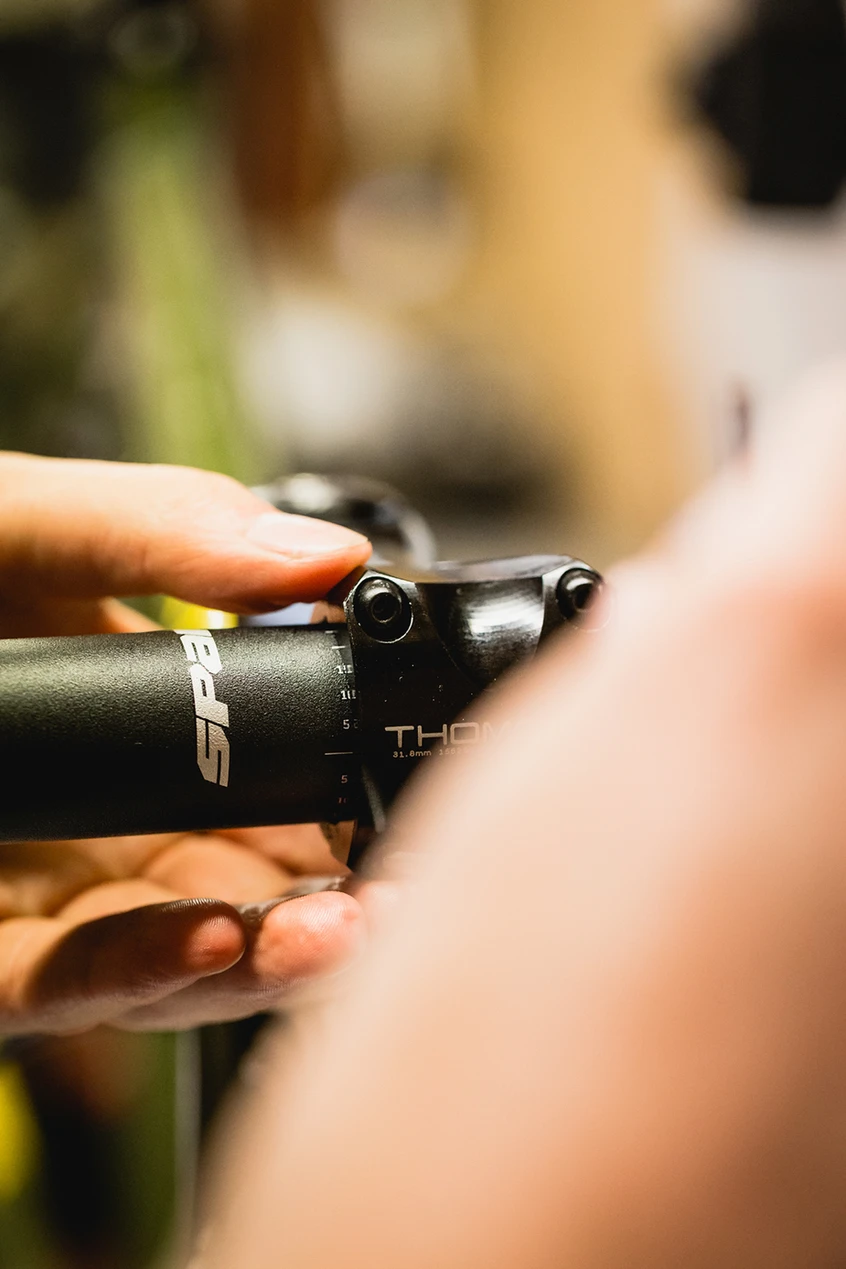
Long geometry has been utilised to offer extra stability and better control when the terrain gets rough. Also, Curve suggest running a shorter stem to better control and to get rowdy on the trails. I went from a 120mm to 100mm stem. There’s also a high standover, which improves frame stowage space and another good feature is the three water bottle mounts, perfect for bikepacking trips. Electro-deposition plating uses electricity to deposit a smooth, thin, uniform layer of plastic coating to the frame surface;. Iideal for protecting the frame on rugged adventures.
The Parts
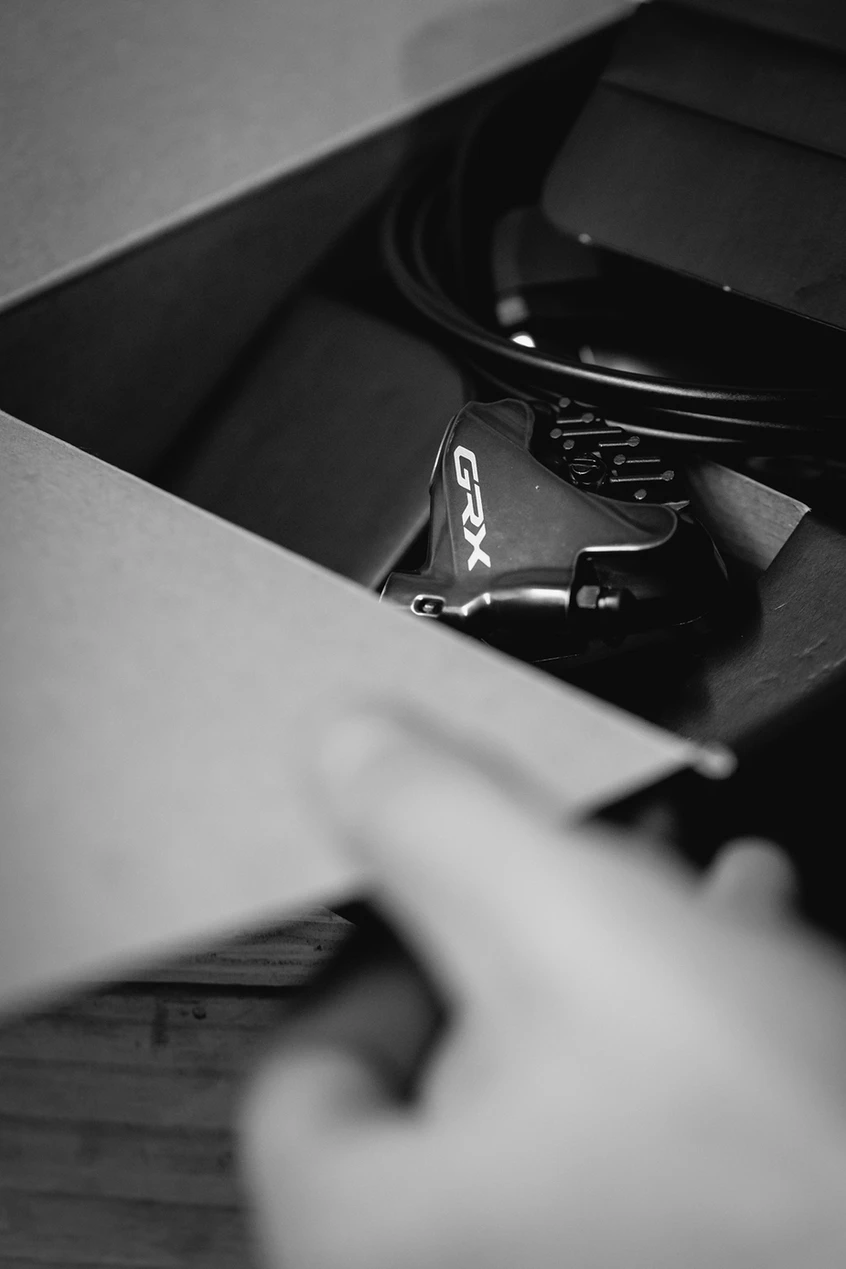
No one does reliable better than Shimano. They’re not always changing the game, and occasionally you get the feeling that they’re chasing other manufacturers, but when they do release new products, 99 times out of 100 you can guarantee it’ll be reliable and simply do what it’s supposed to do. When we caught wind of Shimano’s new GRX groupset it was the obvious choice for this build.
GRX is Shimano’s first dedicated gravel groupset and, true to form, they gave the gravel scene a couple of years to really develop before jumping on the train and putting out a dedicated gravel product. Shimano decided not to tell riders what they needed for gravel, and instead chose to wait for riders to tell Shimano what they wanted. The result is a groupset that takes learnings from road and mountain bike component lines and sandwiches them all into a component line that’ll make your wildest gravel dreams come true.
Mullet (pronounced moo-lay – stay classy) builds are one of the hottest gravel trends right now. For those not in the know, a mullet build is basically just road shifters paired up with a mountain bike derailleur so you can take a bigger cassette. With GRX you no longer have to mismatch groupsets; their longer cage derailleur will accommodate up to a 42T cassette. With options to run dropper posts and single or double chainring setups, Shimano have really taken a good look at what the gravel market wants.
Shimano GRX is available in either mechanical or Di2 with hydraulic disc brakes. In this case, we opted to run a mechanical groupset mostly to give us options in those shit-hits-the-fan moments and, let’s be real, mechanical groupsets are so good nowadays that the extra coin to go electronic just wasn’t worth it. Cheaper and easier to fix replace all the things we like on a bike that’s going to see some incredibly remote places and take a hammering.
The rest of the components were selected with strength in mind. From the get-go we knew this bike was going to be heavy, not only due to the steel frame but also because most of the time it’ll be loaded up with a night’s worth of gear, minimum. Spank’s relatively new Vibrocore bars play home to our hands and were chosen thanks to their Vibrocore Technology, which dampens vibrations and helps prevent arm fatigue. I’m not really sure how Vibrocore works (it’s got something to do with physics and frequencies; I make magazines) but essentially there’s foam injected into the bar that helps absorb vibrations. Wheels will probably be swapped in and out as time goes on, but for the purpose of this build we threw some Curve Dirt Hoops 650b wheels on the bike. The main reason for this (other than being matchy-matchy) was to open up our tyre options. Uncle Kev will accommodate up to 2.2”, so Maxxis Crossmark 2 mountain bike tyres, may as well, right?! A Thomson Seatpost and Stem round out the build because, well, they’re just nice.

The Build (notes from our in-house mechanic)
Getting given boxes full of high-end parts is always a nice treat, until you begin putting them all together, with the goal of having a functioning bike at the end of it.
It’s like a 1000-piece puzzle. Although there aren’t that many components, there are many steps and processes to piece it all together. When doing a custom build like this, there are always a few variables that you have to allow for. Nothing is ever straight forward, as was the case with this latest Curve build.
From the moment this build started, it was clear that I was going to have to be quite resourceful. You’d hope that when getting sent bikes, frames and components for media, every detail would be covered, every bolt accounted for, and someone would be wanting to make sure that our experience with their product is the best it could be. This wasn’t the case.
Liam had made it clear that this project was about building the 4×4 of gravel bikes. A monster truck that could take anything you might throw at it, and wasn’t going to have mechanical issues out in the wilderness. With the frame being steel and with a lot of New Zealand being wet and or coastal, certain precautions had to be taken to ensure it wouldn’t rust out, and bolts couldn’t seize.
Every bolt (that the frame came with) needed to be pulled out and greased whilst the other 19 bolt holes,which hadn’t come with any bolts in them, needed to be filled in to prevent water getting in.
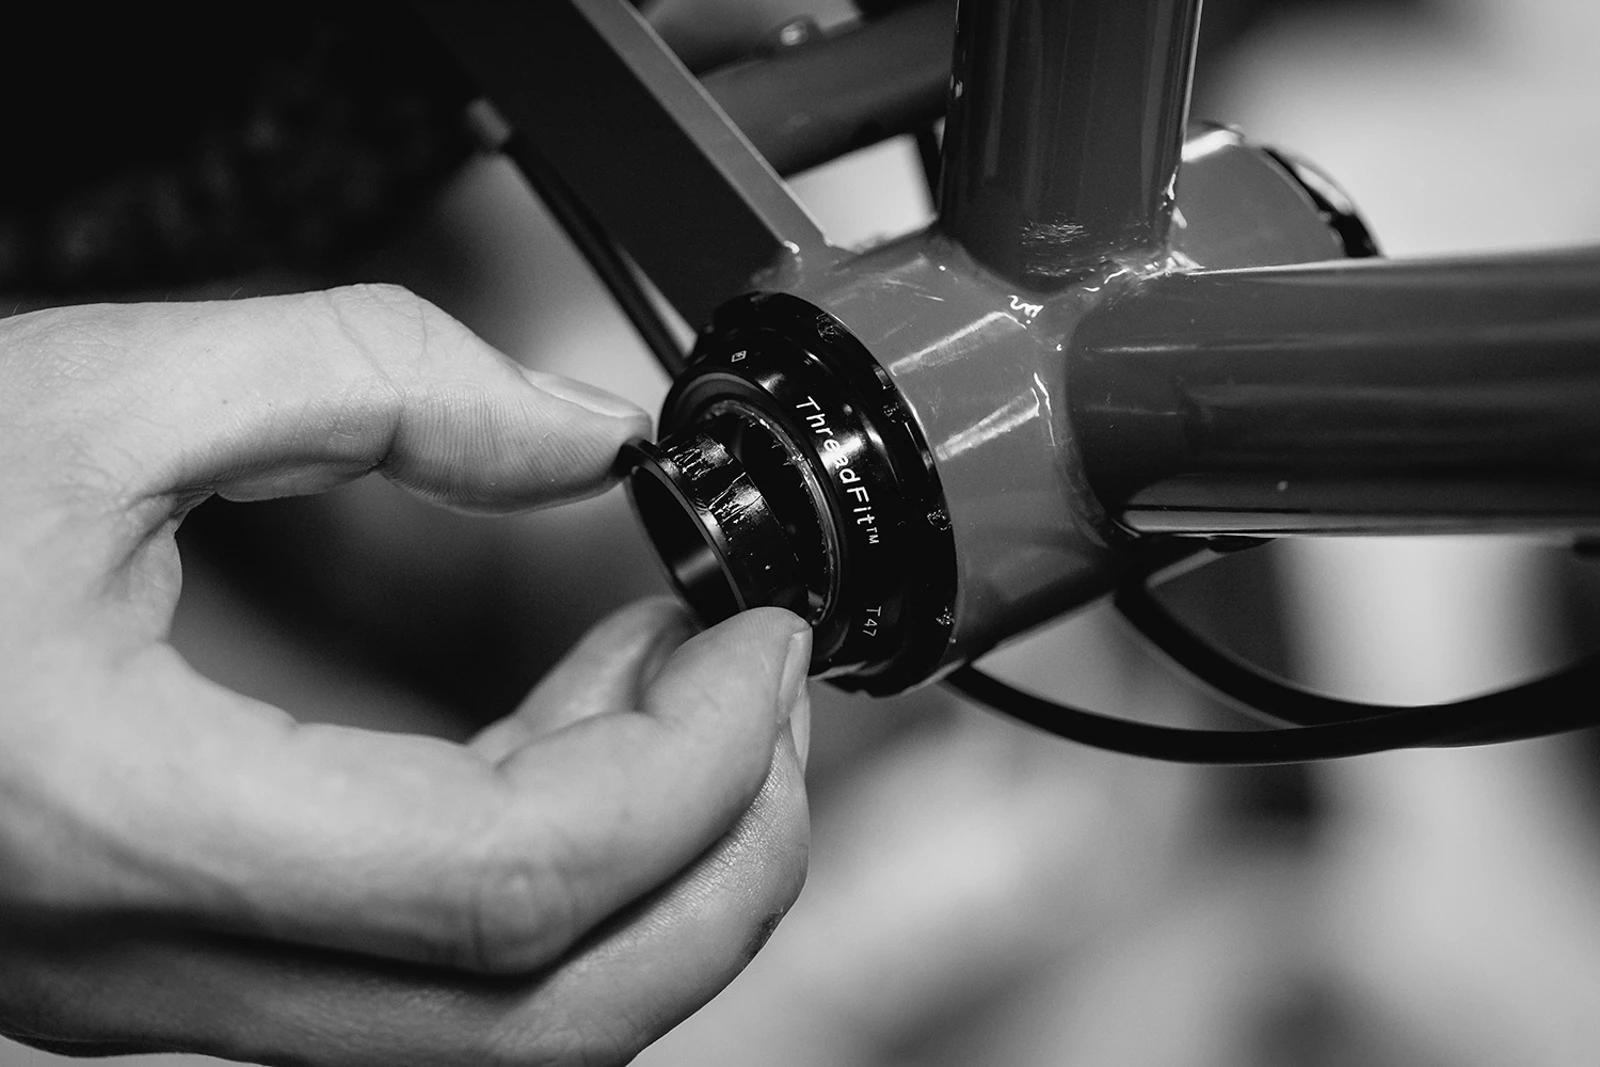
The biggest challenge was understanding and sourcing a bottom bracket. The Curve frame uses the new T47 ‘standard’ – Is use that term loosely because it’s hard to call something a standard nowadays with the plethora of options. While it has been around a while, not many bike brands utilize that standard, even less are brought into New Zealand, and even fewer component manufacturers produce a bottom bracket aftermarket. Our only option at the time was Chris King, which is far from the worst option, and the only tool available was a $150 Park Tool option. The cost was enough of an insult, but then it took two weeks to come from Christchurch.
By this point in the project, I’d already given up hope and convinced myself that if I ever had the option to custom build a bike for myself, I sure as shit would stray away for anything with a T47 or non-mainstream BB ‘standard’. There was nothing wrong with a traditional threaded bottom bracket in the first place!
The Curve wheels supplied were built onto a DT Swiss 350 hub, but were sent with an XD Driver. With our build being Shimano, we needed to change the freehub out to an HG compatible model. I had all but two days until the bike was needed for its first shakedown, somewhere deep in the Naki, but with our experience earlier in the piece having to wait almost two weeks for the bottom bracket tool to arrive, ordering that new driver body from the same supplier was not an option.
Remember back some five or so years now, when our mountain bikes utilised a 142x12m Thru-Axle rear hub ‘standard’? Well, as it so happens, I had a Shimano Freehub Body for a DT Swiss hub in the depths of my workshop, with a 142×12 end cap that was exactly what was needed, thankfully.
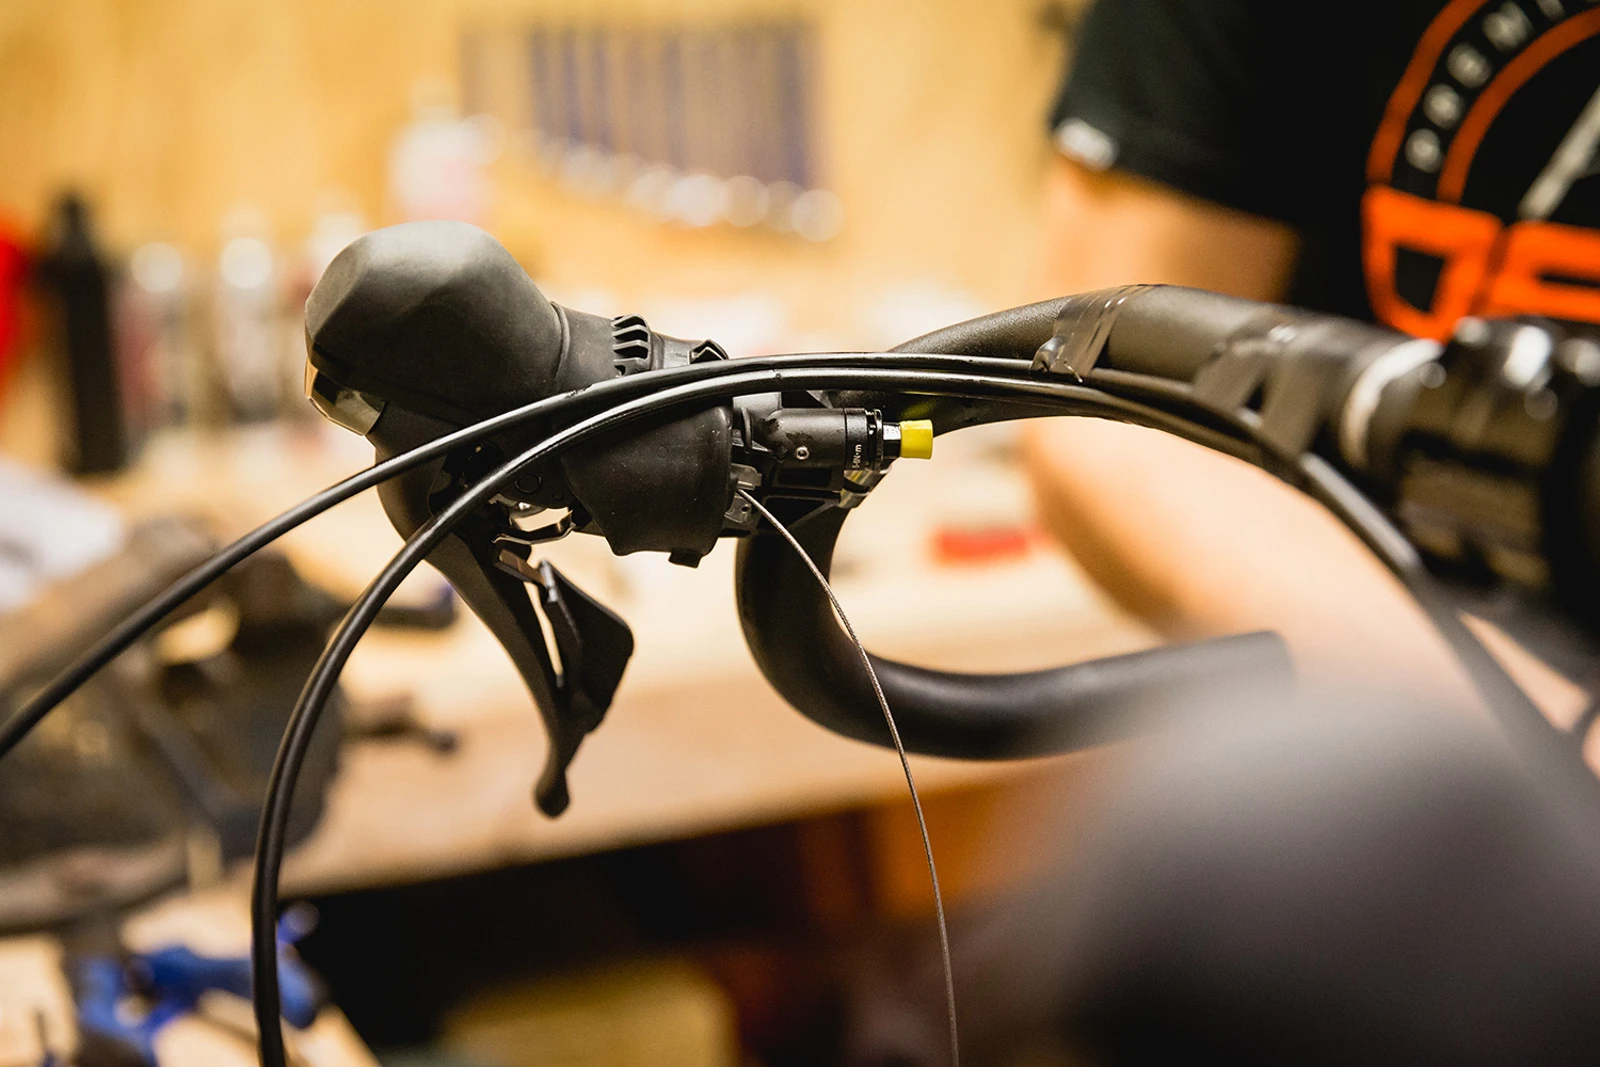
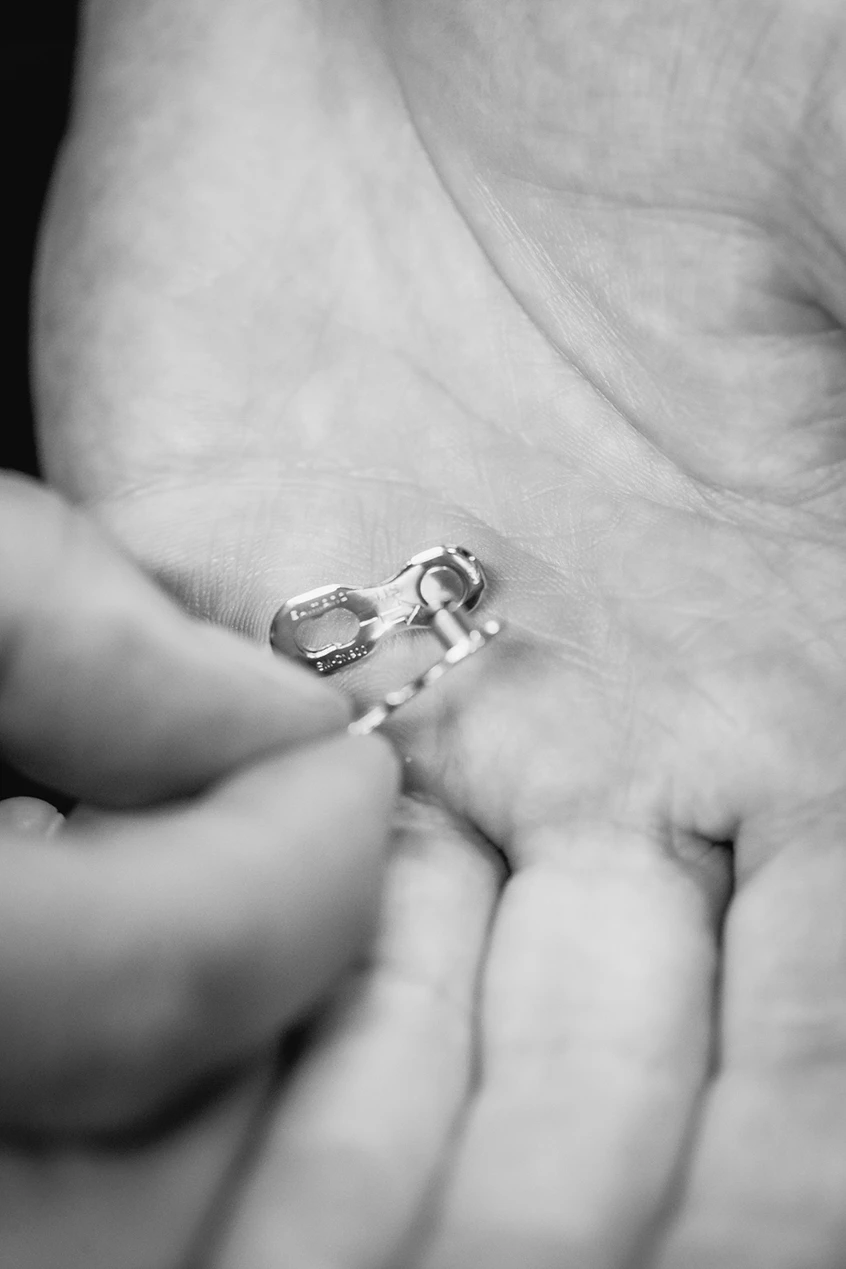
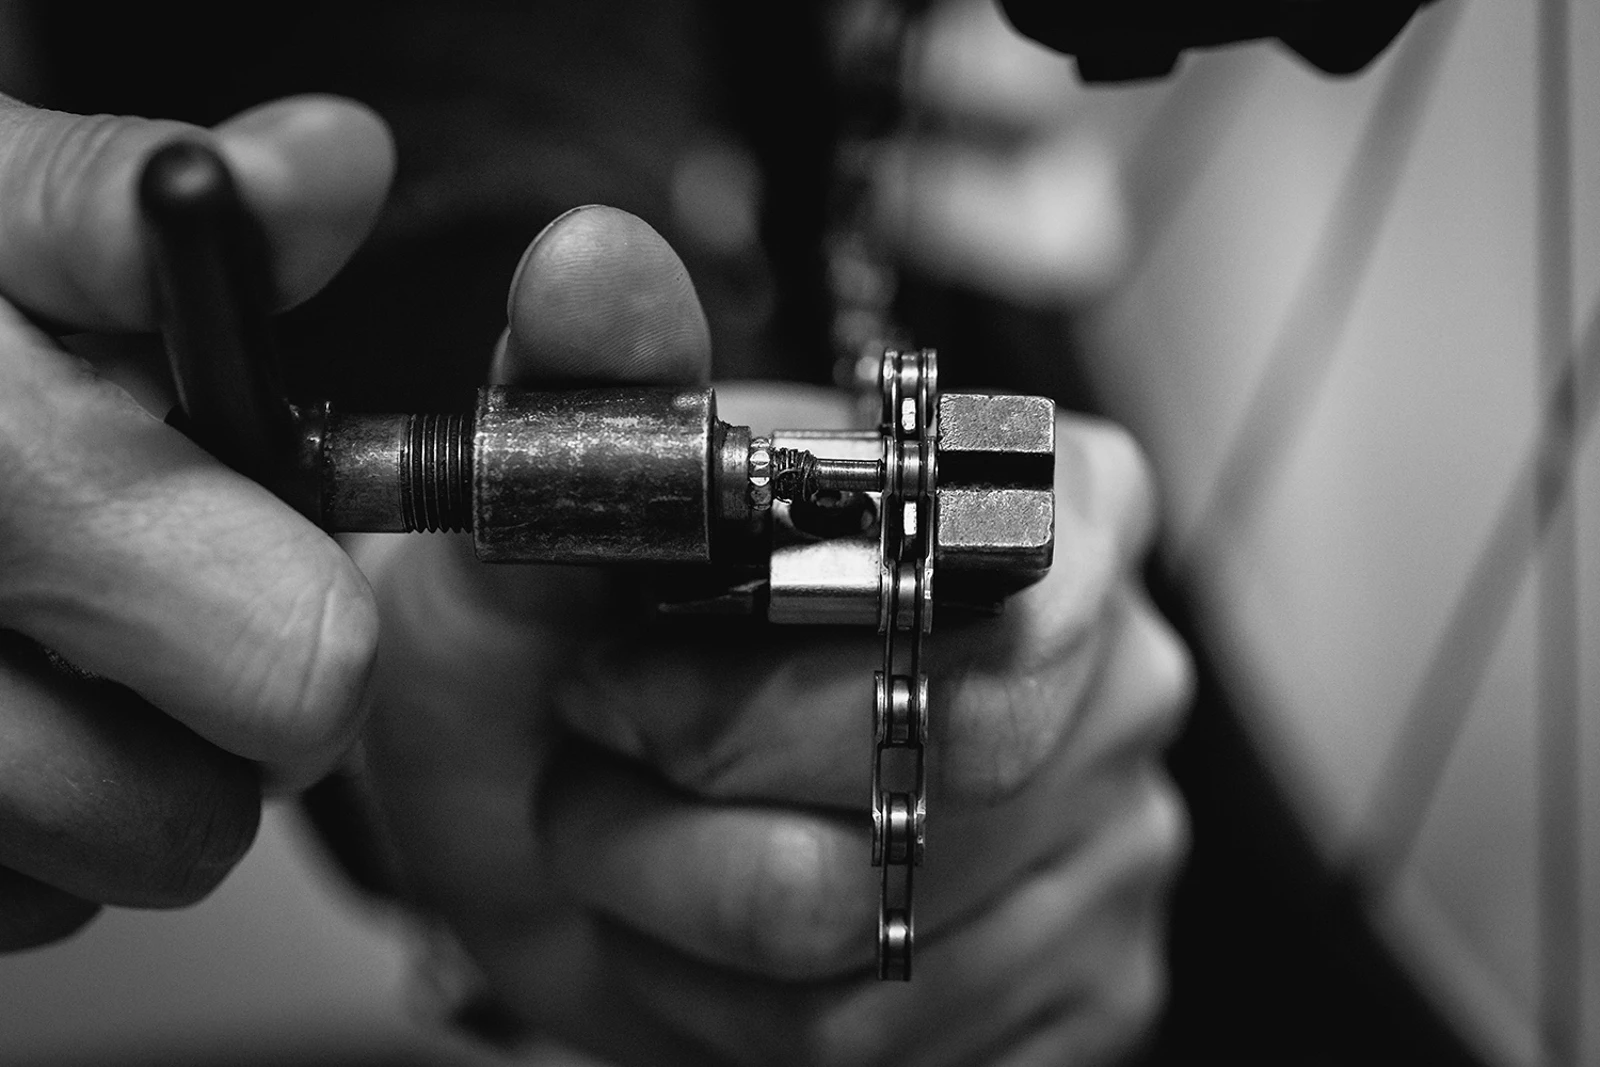
Beyond these issues, the assembly of the bike was as straight forward as possible, and my faith in the bike industry was restored when working the brake hose and gear cables. All externally routed and full length, a mechanic’s dream.
Shimano’s new GRX was also a breeze to fit with few surprises. They really have just combined the best of their road and MTB tech into one hardy offering, and not used any silly new fittings or tools just the same old stuff. Easy for me, and easy for a rider to fix in the field with very limited tools.
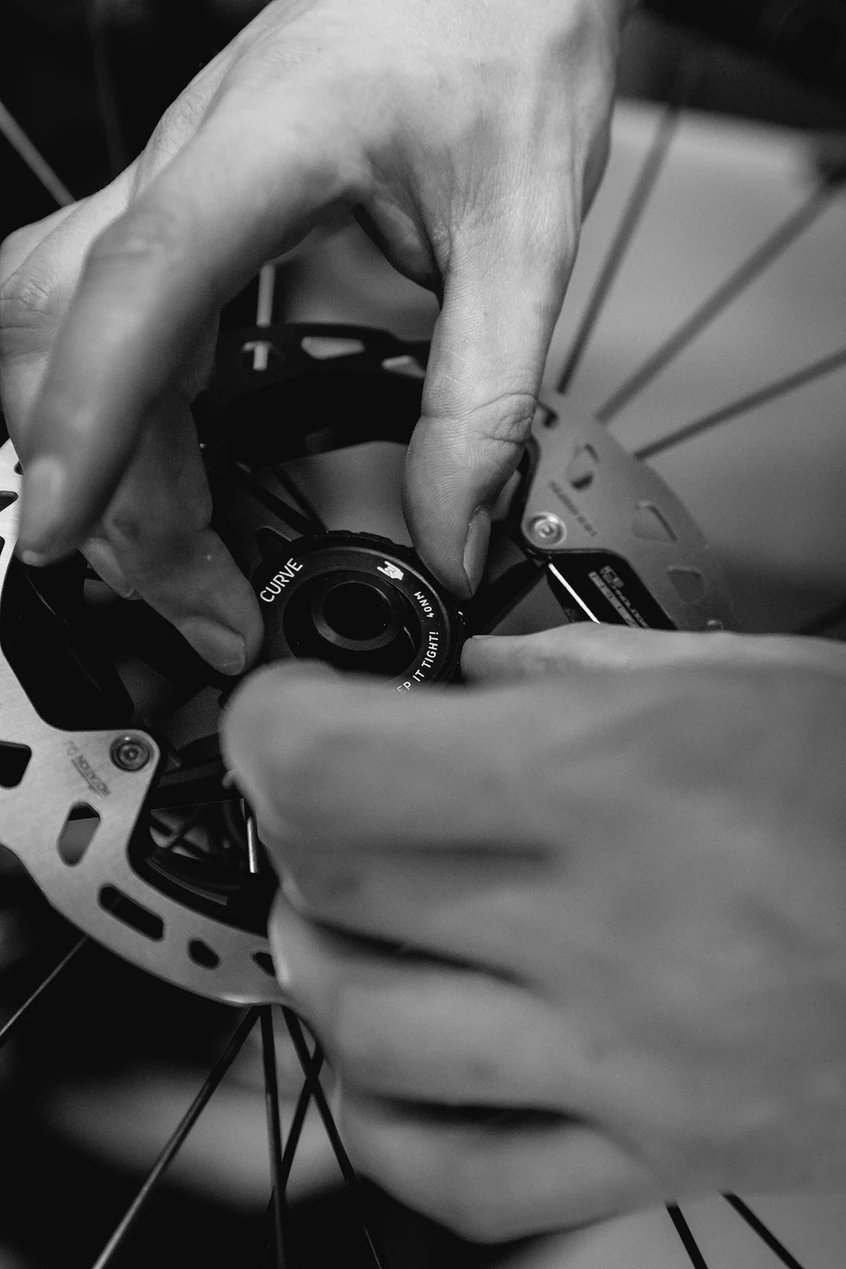
I will comment, however, on the wheels. Whilst the centrelock mounting for the brake rotors is simple and easy to work with, it’s not really a great option for when you are three days from civilisation on a bike packing trip. You wouldn’t be carrying a Hollowtech II tool, so if that came loose (or worse) you’d have very few ways of fixing it, as opposed to a 6-bolt rotor and hub. Again, the carbon rims are nice to have, but I feel they are less practical in an adventure roll. The tyres, paired with those rims, are nothing short of a bastard. You would snap every tyre lever you had and then some trying to fix a flat.
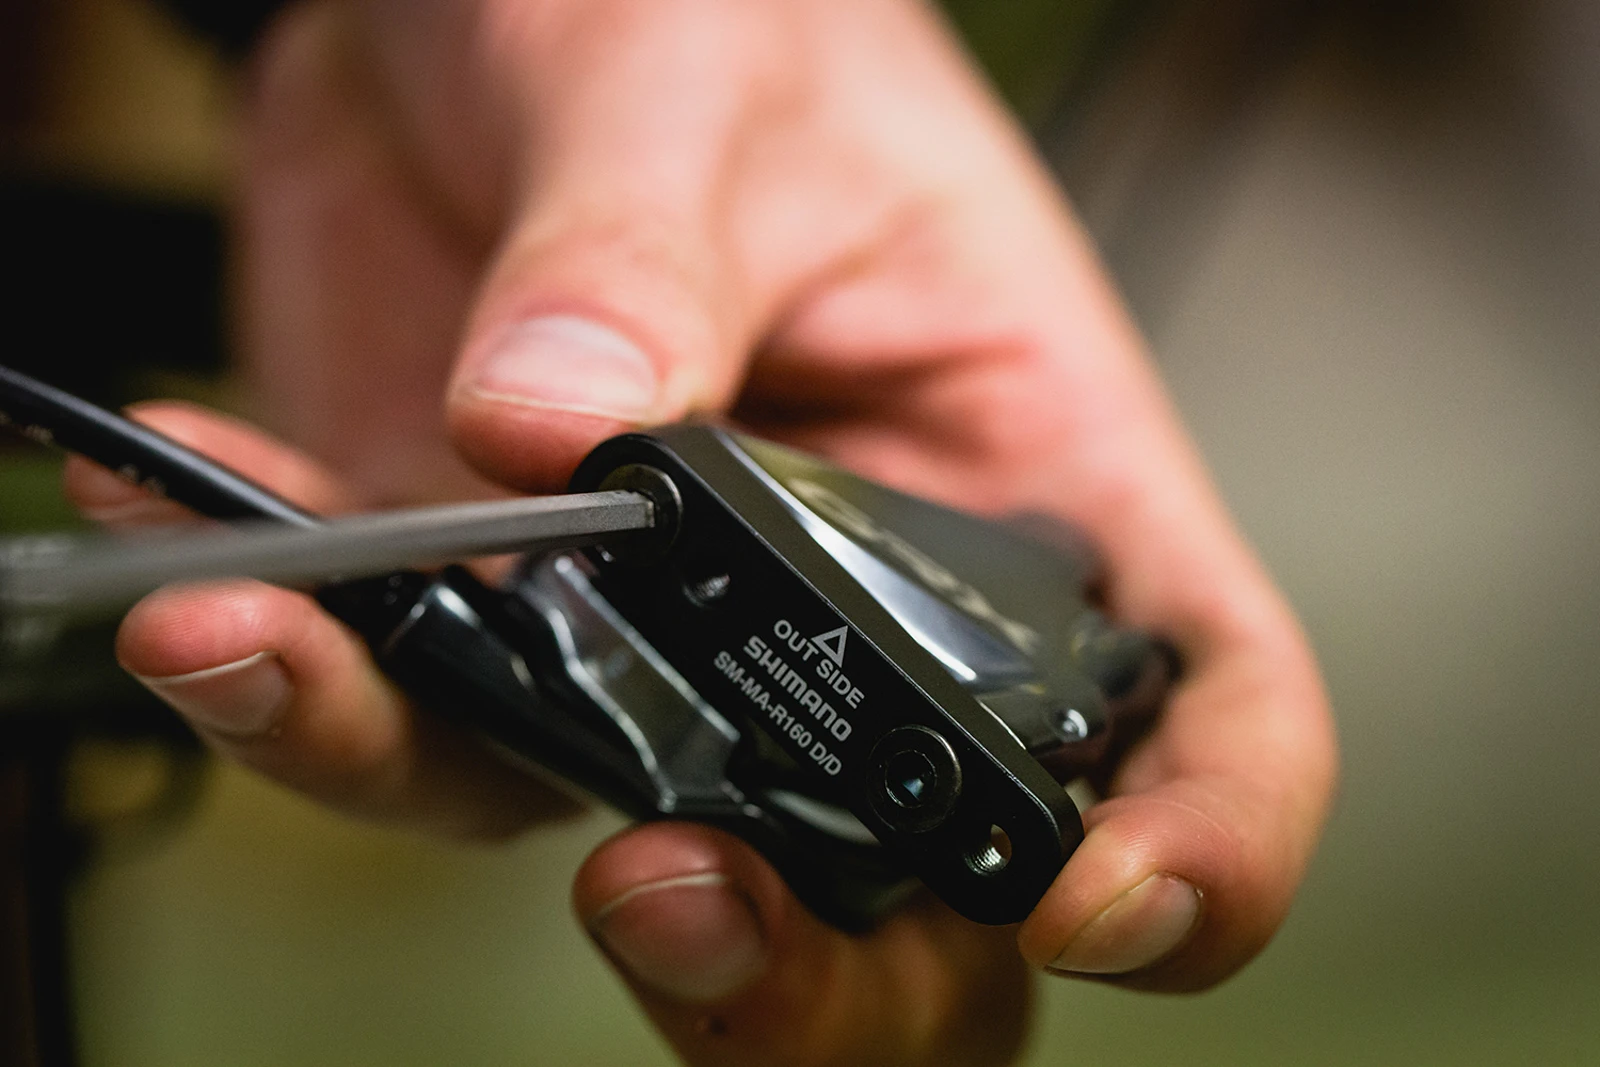
My other little build notes and comments on changes would be around brake rotor sizing and cassette options. With a bike of this nature and it’s grim outlook – abuse, deep adventures and bikepacking -160mm rotors front and back were a must. It meant I had to fiddle around with sourcing an adaptor and cutting mounting bolts down to size, but it means the rider will have much greater power no matter the load, or grade of the road.
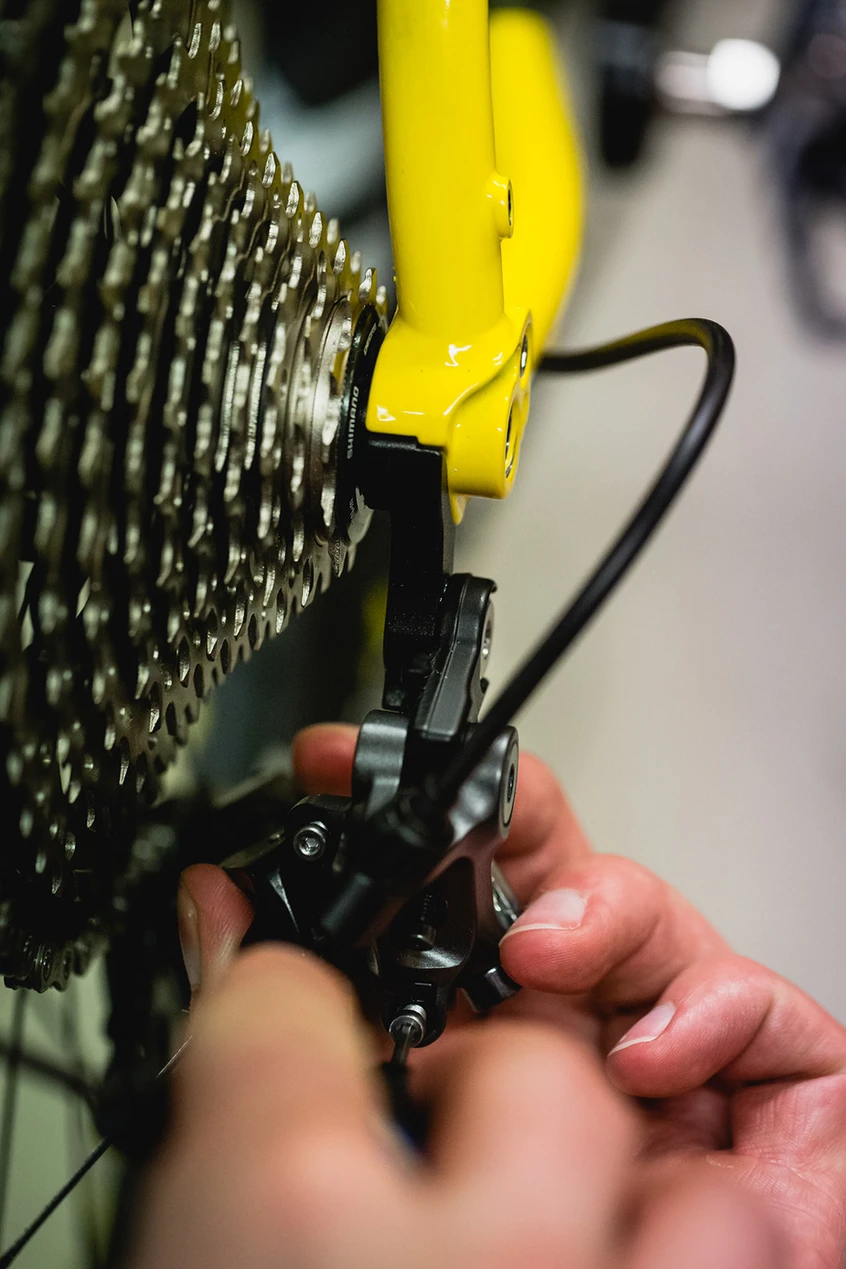
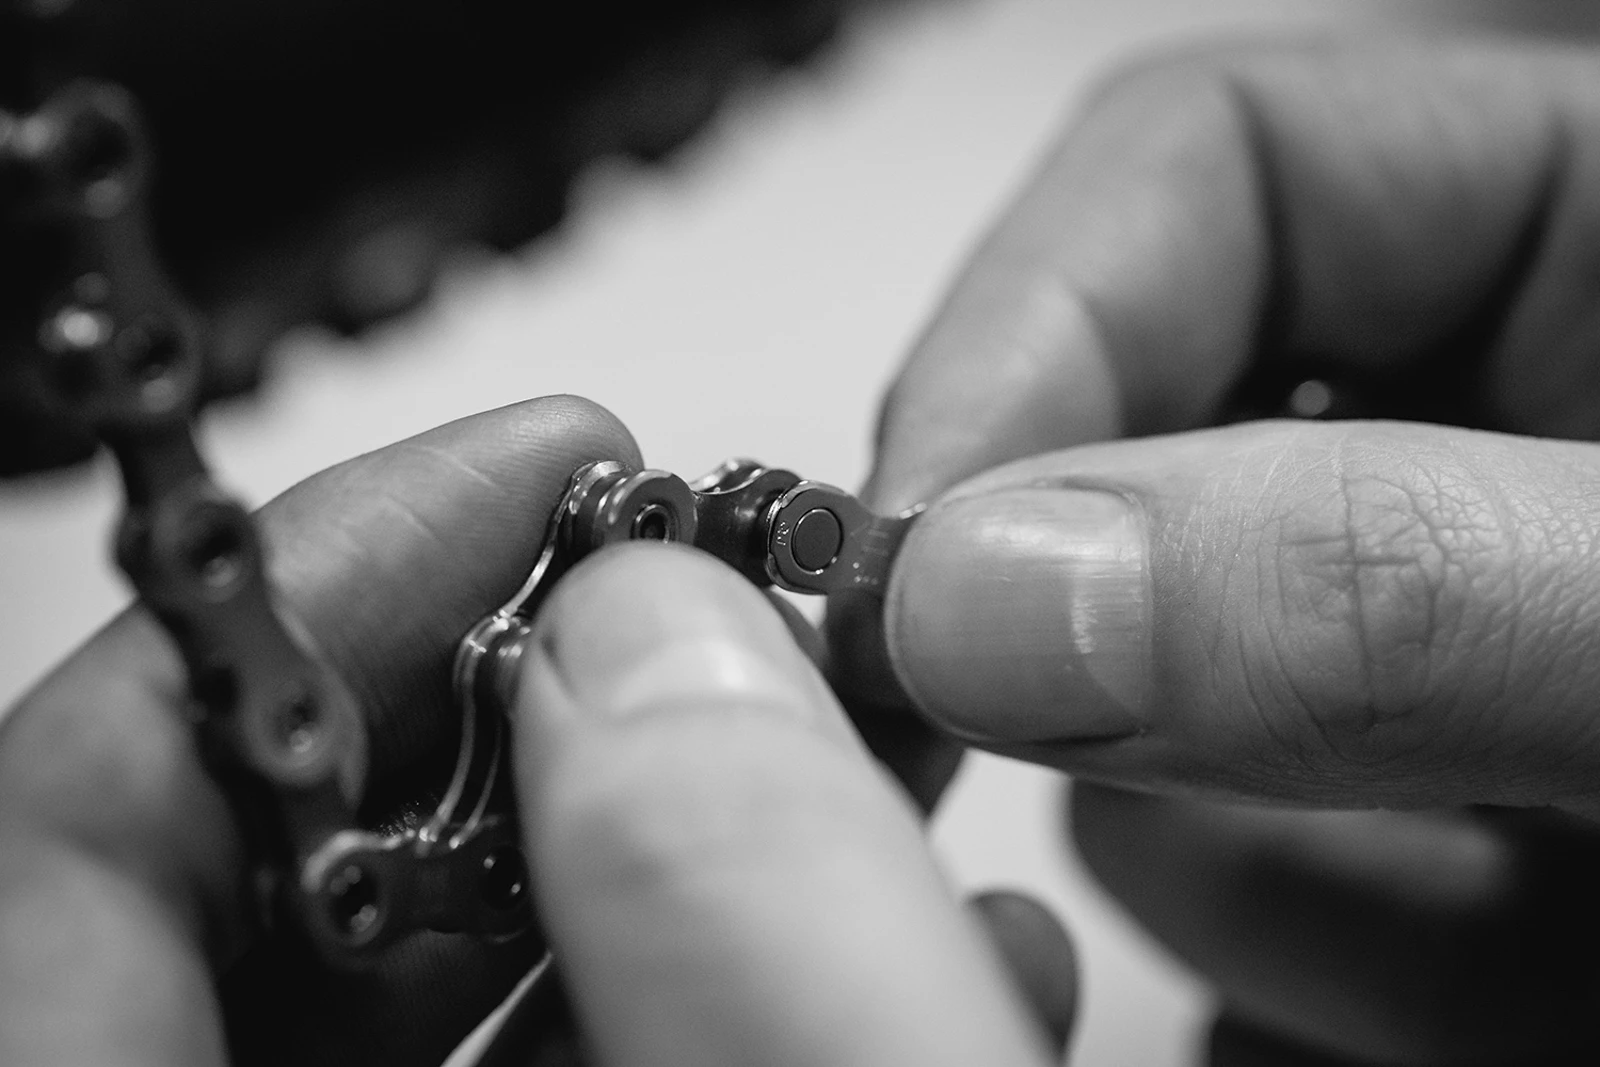
The same goes for the cassette. At the time, we built this up (as you see it) with an 11-42t 11-speed Shimano XT Cassette, as that was the greatest size cassette they listed as being compatible with the new single-ring GRX drivetrain. Upon riding and building though, it is clear that the GRX Derailleur takes after its cousins, XT and XTR, in that it will handle a larger 11-46t cassette with ease. Paired with these 650B wheels and loaded up with bags, that larger 11-46t cassette is a must for us.

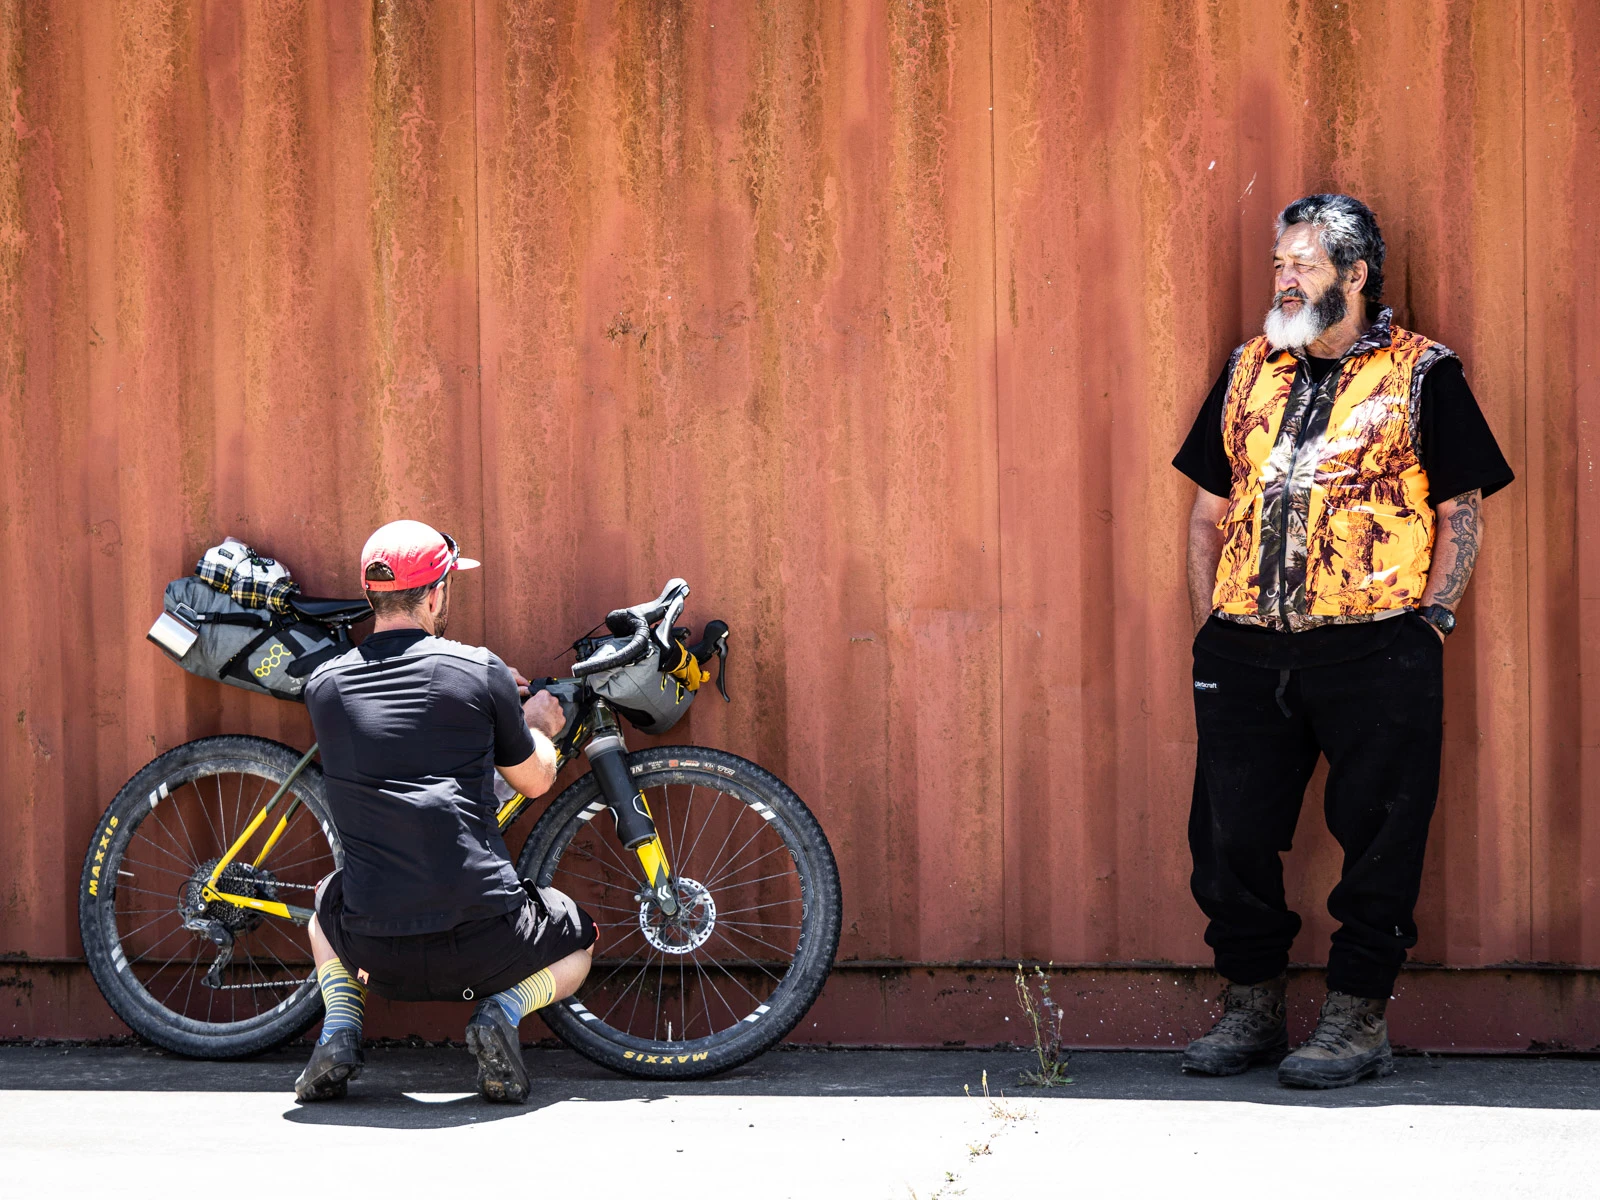
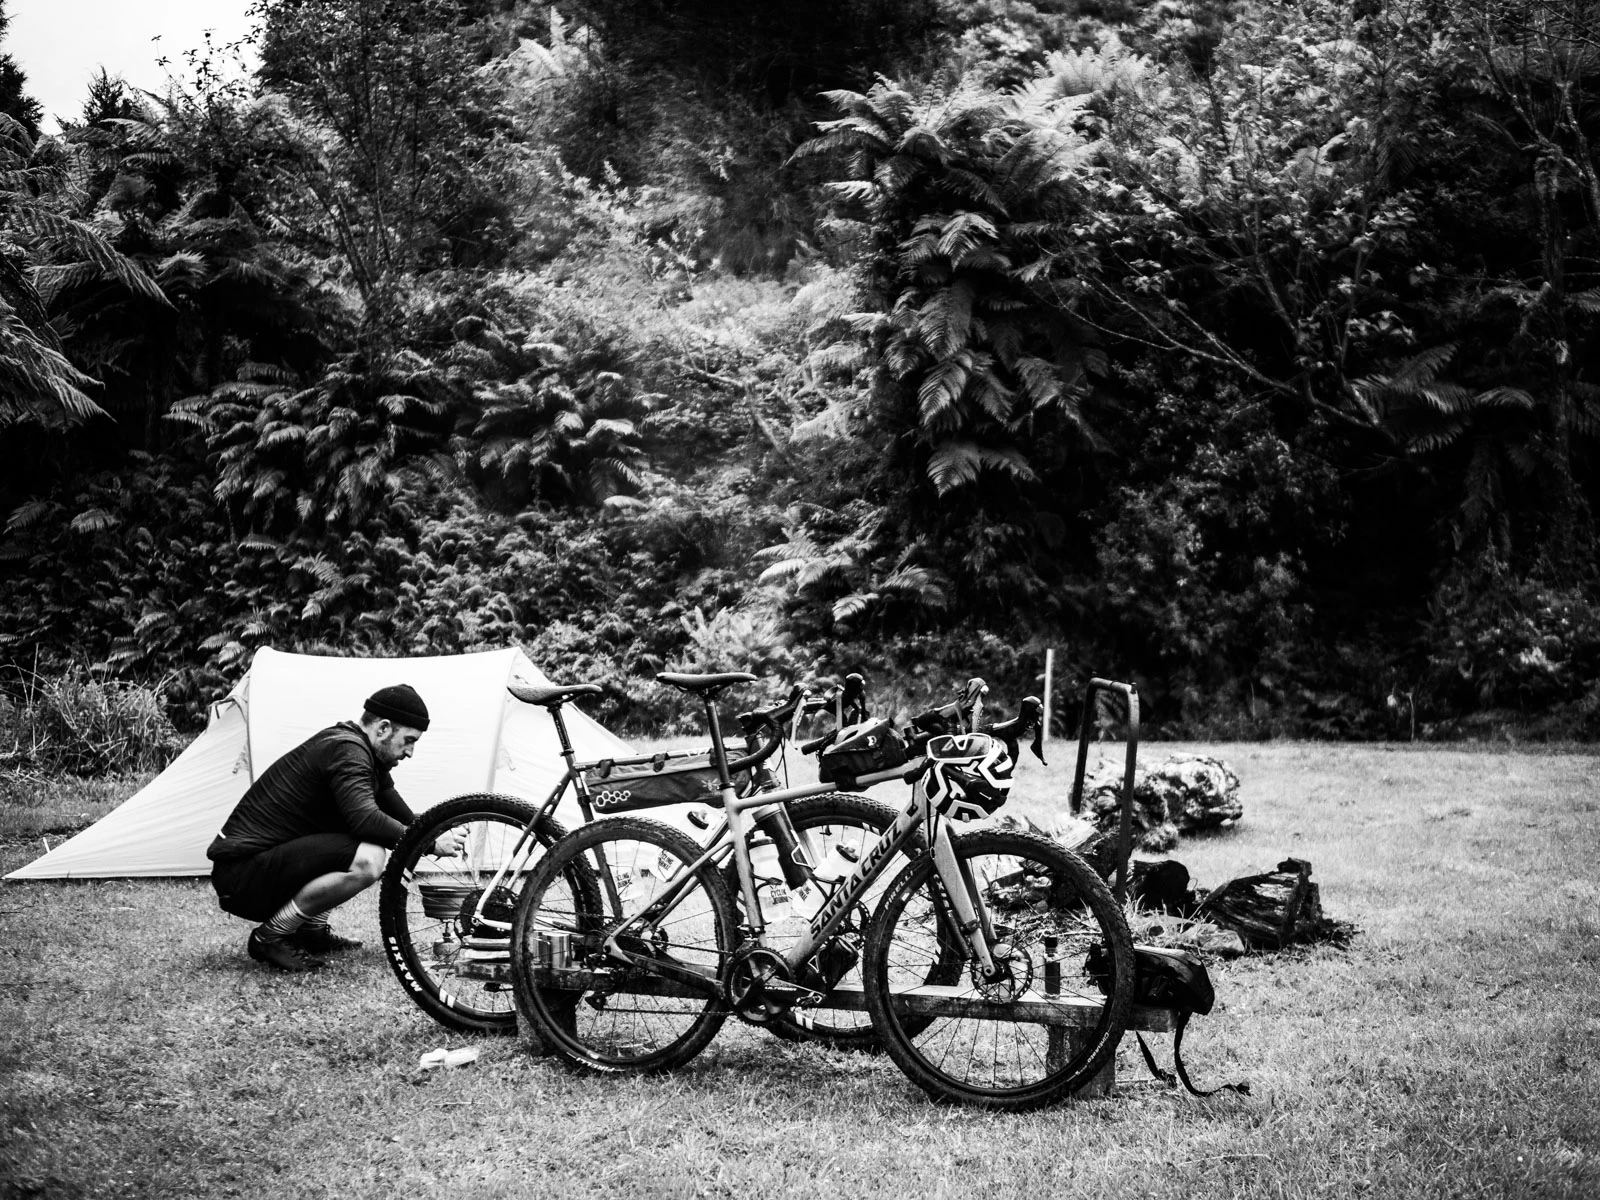
The Ride
Not long after the bike was built, (well, the next day in fact) we ventured to Whangamomona. I was pretty impressed with the build, it looked somewhere between an old school cross-country mountain bike and a modern adventure-bike. One of the bro’s said; ‘it’s a tractor’ and he was not wrong. As I took off towards the backroads I couldn’t wait to get onto the rough stuff. Once there, it plowed through anything in its way. It just eats up the gravel; the larger tyres, simply soaked up any ruts or corrugations. The Maxxis Crossmark 2 were a little slower than the Maxxis Ikon 2.2’s I had been riding. I think the Crossmark 2 tyres, whilst good, are made for more arduous terrain. I’d prefer the Maxxis Ikon 2.2’s for the daily grind, and then I’d run the Maxxis Crossmark 2 tyre if I was doing more gravel and track, with little road. That being said, the grip was incredible on the gnarly terrain. The Spank Flare Vibrocore wider bars helped me with more accurate control, with the bars also soaking up some of the vibration. This was especially noticeable when I was on sketchy (loose gravel) descents.
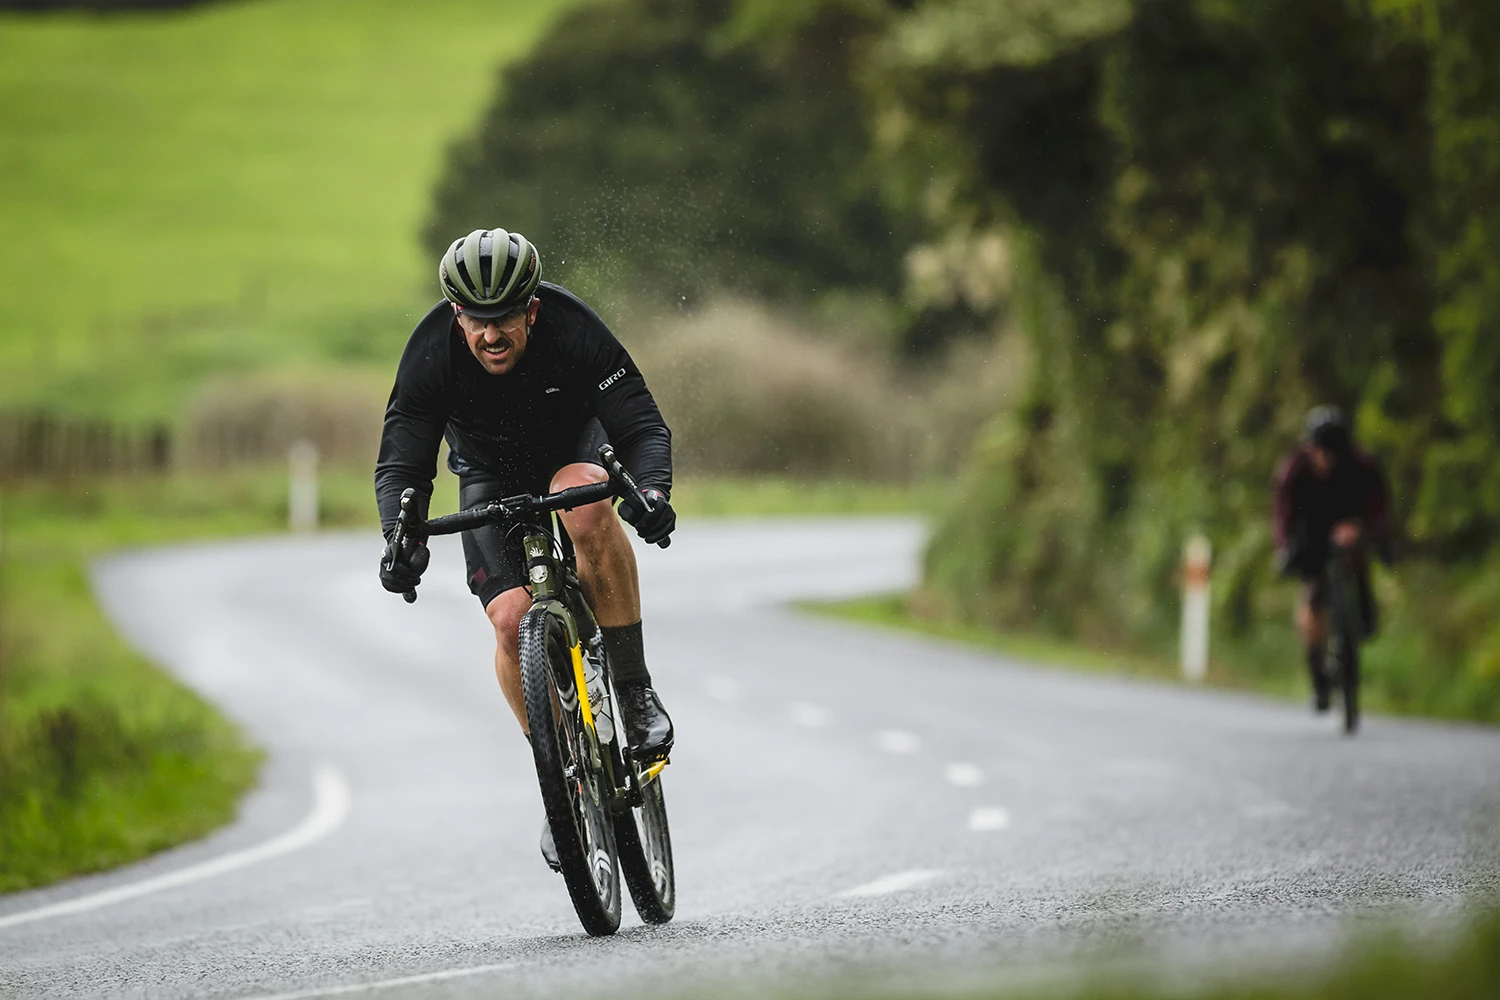
The shifting was flawless and notably smooth it was also a little more quiet than usual. The road noise from the larger volume tyres made up for it though. I did get caught out on a gravel descent, however, and the chain bounced off the crank set. It turned out to be a fault of mine, I forgot to engage the clutch. Shimano GRX rear derailleur feature the Shadow RD+ tension adjuster, or clutch as it’s commonly called, for better shifting performance on rough terrain. The 1x 40t paired with a 11-42t cassette was really good, however I did think it could have been larger – if I’d been hauling luggage on a bikepacking mission. But, for the gravel day adventures it was really good and there weren’t many occasions when I couldn’t find the right gear. The leaps between gears seemed heaps better, even when rolling on the road with larger 2.1” MTB tyres.
The brakes were much more predictive. Being able to pull them slowly and control speed, especially on technical descents, was a huge positive. I’ve been on a few gravel bikes lately, and there’s been a strong case to have better performing brakes, as most are a road disc brake, and whilst they work, they simply don’t take the abuse and often the pads need changing regularly. That’s why, at the top tier of the GRX family, one variant of the RX800-series brake levers (ST-RX815) offers Servo Wave technology coming from Shimano’s mountain bike brakes. With most gravel riding, you tend to brake from the hoods, so Shimano have raised the brake lever pivot point by 18mm in an effort to improve the braking leverage offered from the hoods. And, in practice, they’re bloody brilliant!
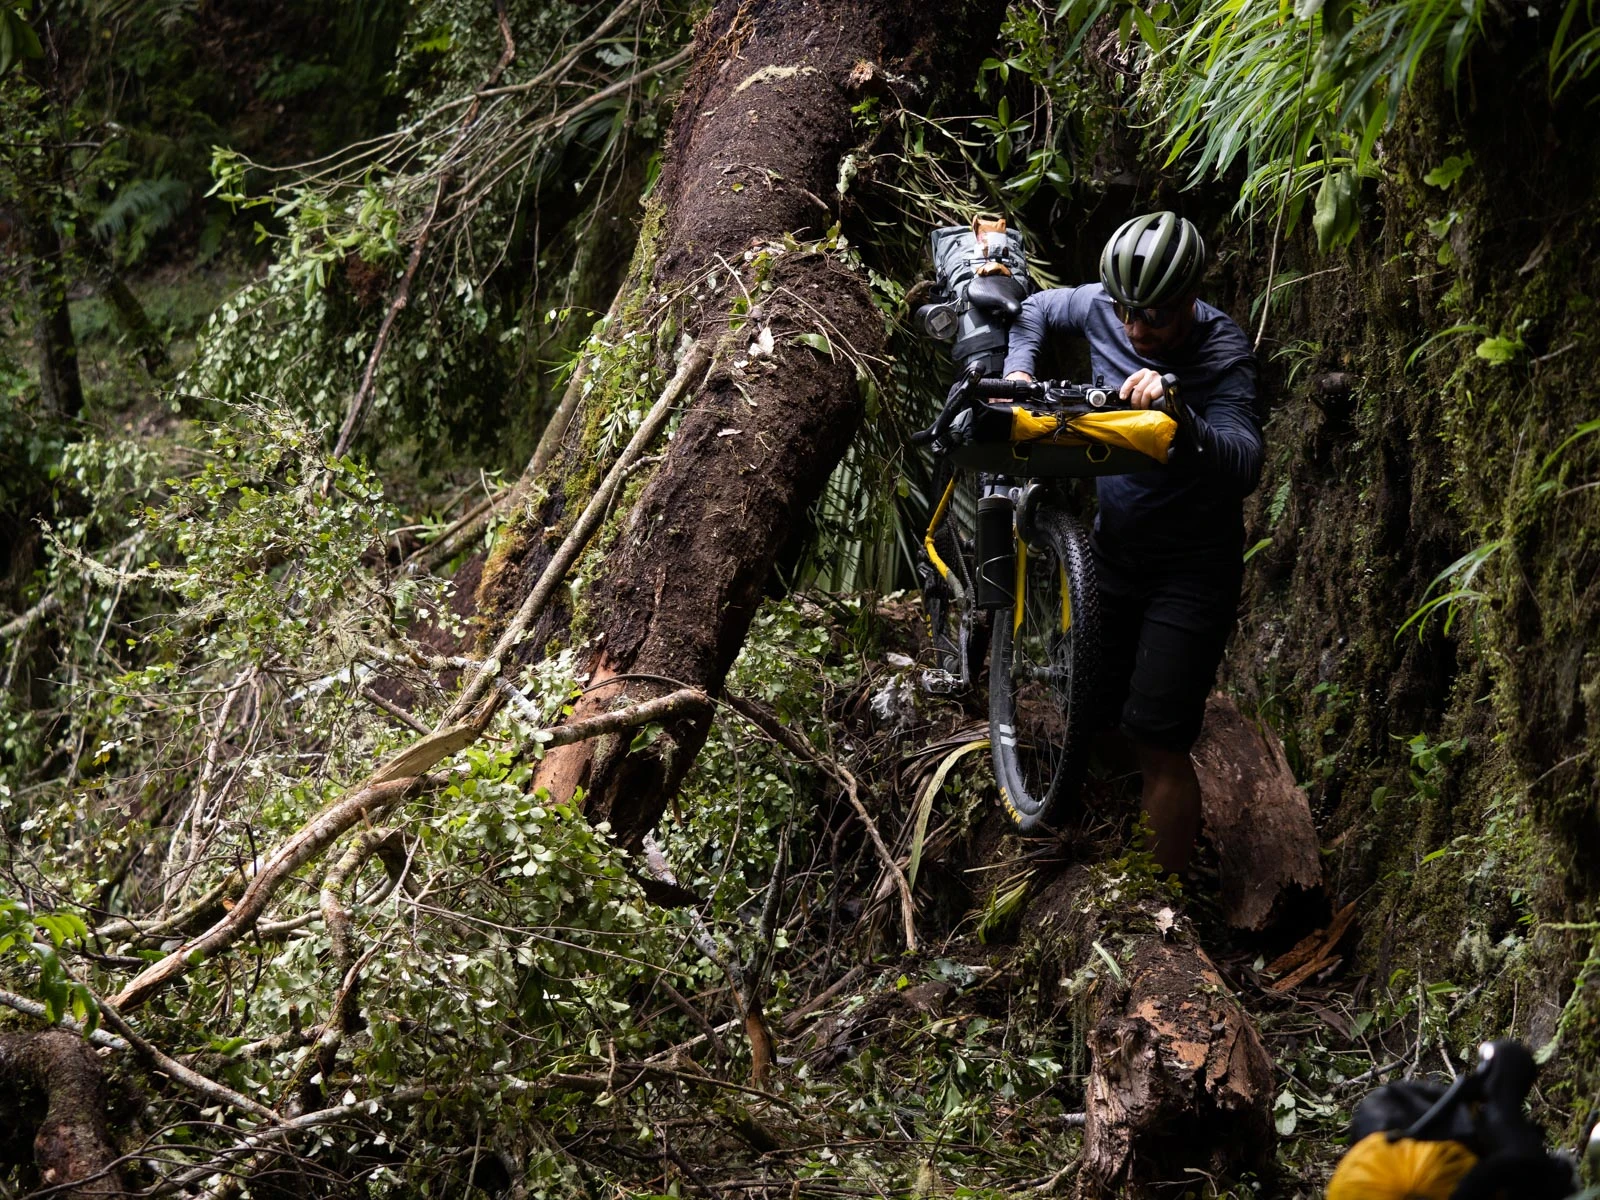
The frame, steel and the bike’s comfort is especially evident when you climb off the rig after a long day in the saddle. The biggest advantage of steel is its toughness. Most steel bikes can survive dings, bends and scratches, and still be ridden safely for many years. Steel also tends to fail relatively slowly, giving you the chance to fix a crack or a bend before it becomes dangerous. This makes it the perfect frame for challenging adventures. Another factor is that the frame is comfortable and far less fatiguing than other materials, such as carbon. This helps for those long hauls and back-to-back days in the saddle. This is the second steel frame, for me, and I like the ride feel of a steel frame bike – a delicate balance of stiffness, comfort and liveliness. As steel frames are strong and flexible, their ride experience is very comfortable. Steel dampens and doesn’t transmit as much shock through the frame to the rider, which creates a smoother ride feel.
I found the frame comfortable, and this was evident on the second day of the adventure ride. Bear in mind, I hadn’t ridden this bike at all, that says something for the frame and the set up. Yes, I had my fit dimensions, but translating that to a frame and then riding it for four hours back-to-back is another level. This impressed me; it says something about the frameset and the benefits of steel, in terms of comfort. There was a slight compliant Spank Flare Vibrocore and their larger span. It feels somewhat uncomfortable for the shoulders initially, but after a while you tend to get used to them.To be honest, my shoulder could have just been hurting from the pints I was lifting in the pub afterwards too!In my opinion, the flare bars are great, and best when you’re in the dropped position, you can understand the true benefits of them then. I don’t think they’re for everyone, though.
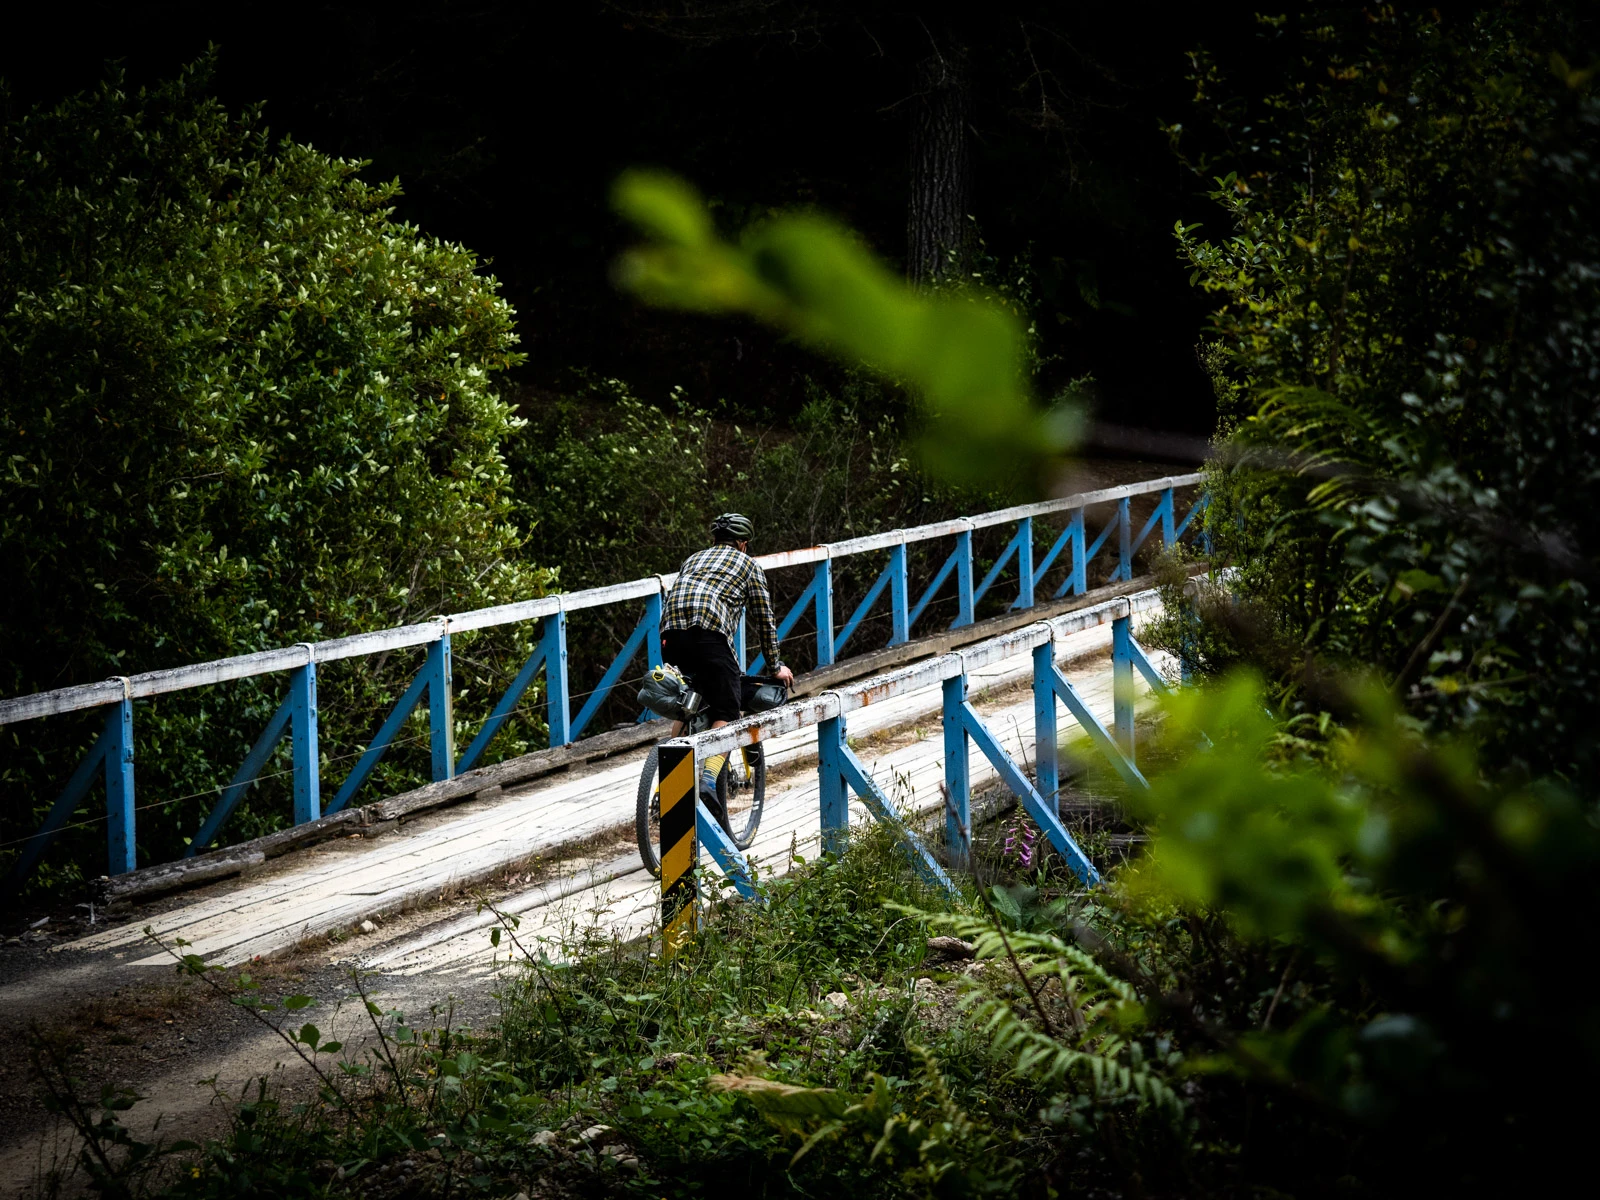
I’ve been back at home, roaming some of the rough, but familiar, routes. Now, the comfort of the larger tyres makes me wonder why I didn’t do this a while ago. However, everything requires evolution, and with it – you take small steps towards what you need. Frames are becoming more capable and, for me, the Curve Kevin has got it dialled. Yes, there’s not the snappiness of a carbon bike and, with the larger tyres, there’s a little less speed. However, this bike is versatile and can be switched from a 650b rig fitted with 47-2.1 MTB tyres, to a 700c bike fitted with 30-45c tyres in a New York minute. I have now ridden several multi-day bikepacking missions with Uncle Kev and can report back good things. One day, I might go so deep into the backcountry that upon return I’ll need to reintegrate into normal society… whatever that is.