

Words: Liam Friary
Images: Marcus Enno
Presented by Macpac
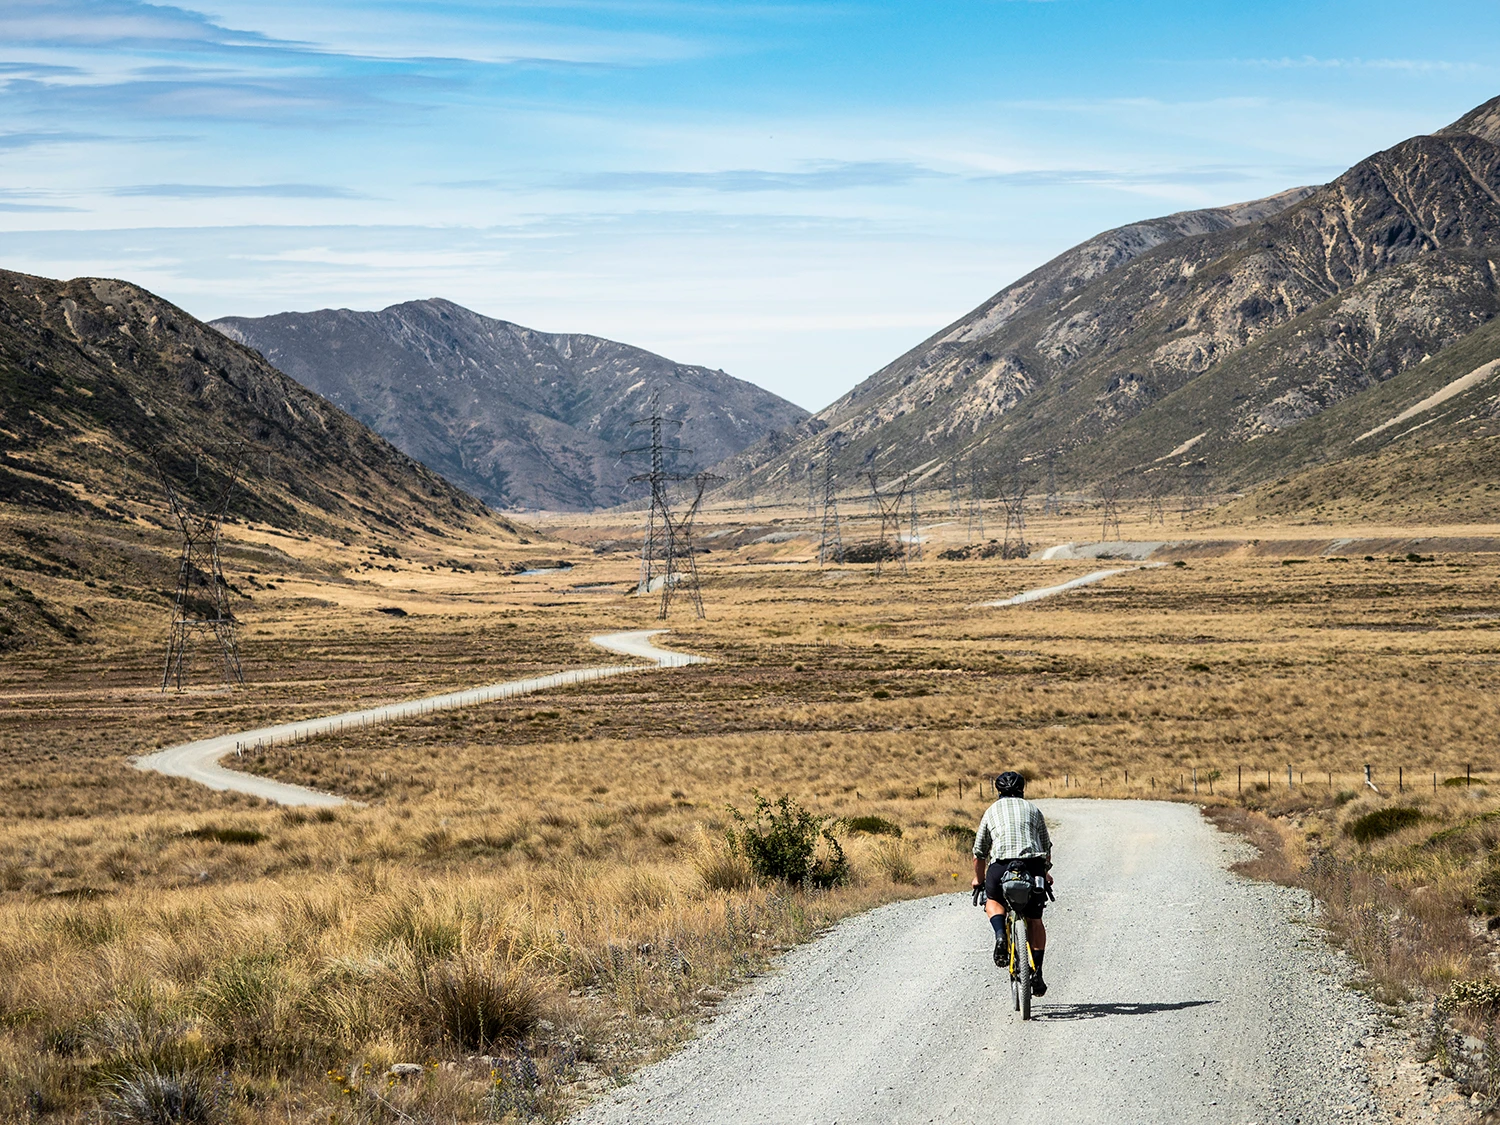
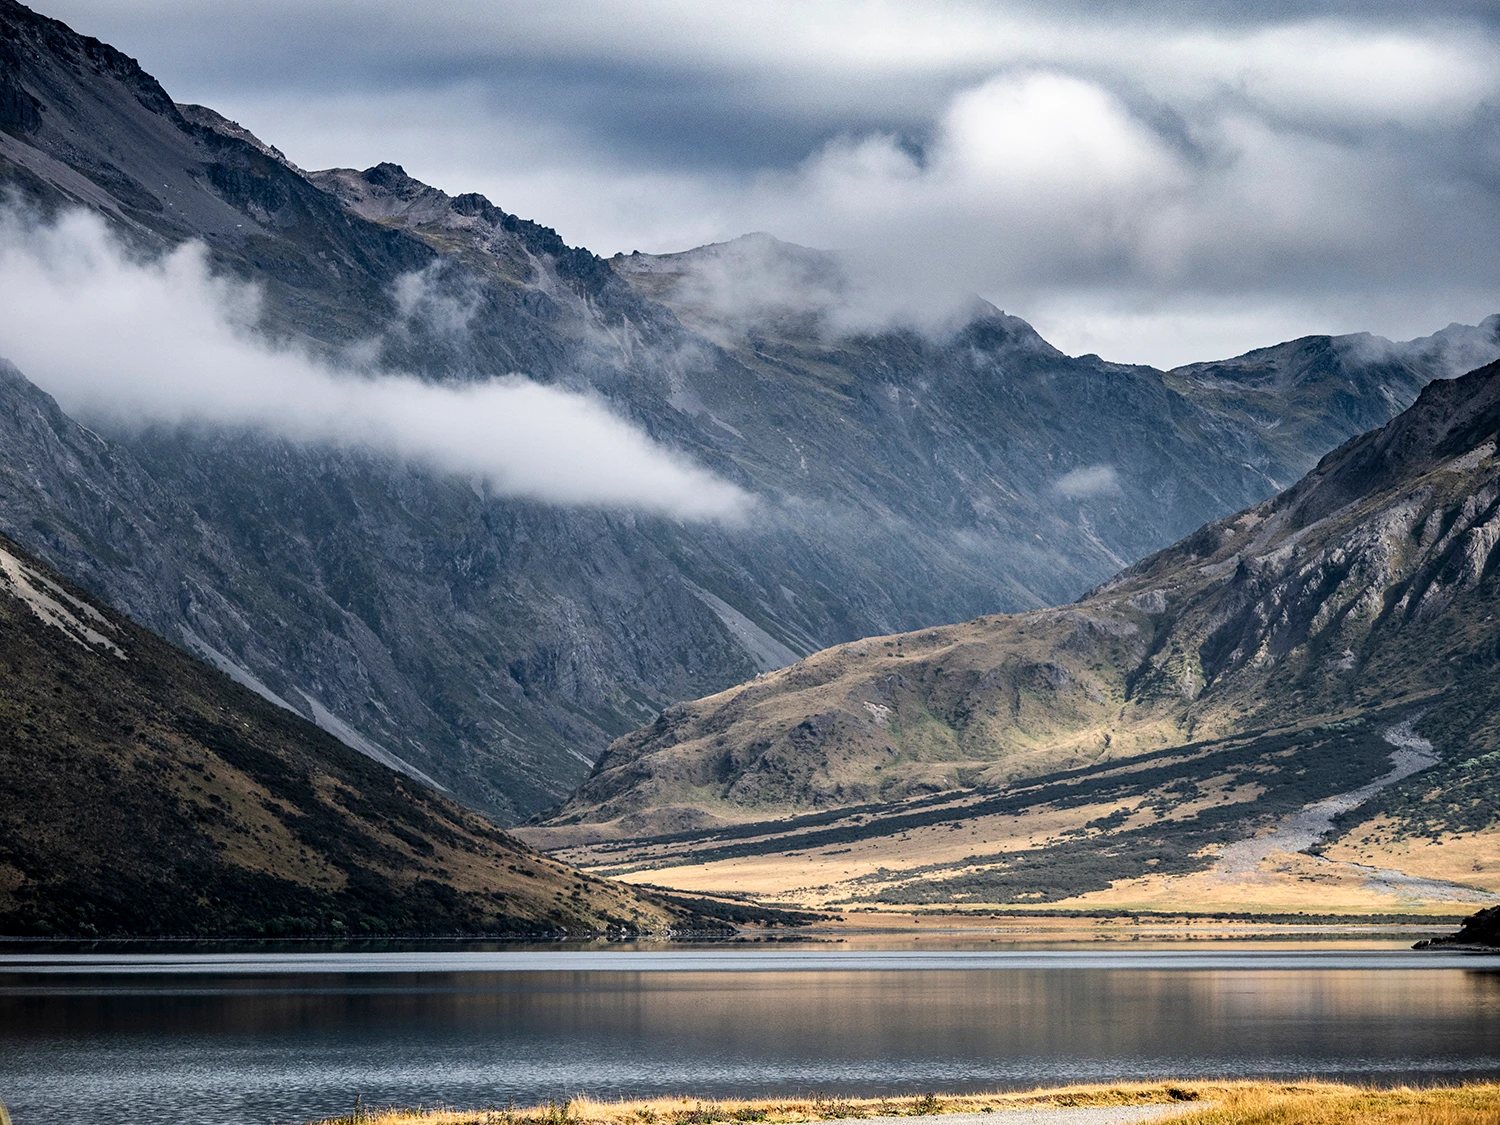
In this new three-part series, we will give you insights into bikepacking. Last week we covered the kit/apparel and this week we cover the camp equipment. We’ve had plenty of bikepacking adventures off the grid over the past few years and thought it was about time we shared our tips. Of course, this won’t cover everything bikepacking has to offer but is something to get you started. Last summer we took on a self-supported bikepacking adventure over four days in the upper South Island. We wanted to get further and deeper into the backcountry, so camping was the best option. The route took us through Rainbow Station, to St Arnaud then Hanmer Springs, and finally onto the St James Cycle Trail. Here’s a brief breakdown of the kit and apparel we used.
Bikepacking Camp Equipment
Like any outdoor sports pursuits, there’s a direct link between the cost of gear and how much it weighs. Just think your legs will have to push the load you take so a lightweight setup is optimal. Basically, the lighter the better and more enjoyable the ride. It also will assist with handling and any rough terrain you may encounter. You’ll want to ensure you’ve got a dialled pack list to ensure you’re not lugging a freight truck.
The deeper you head into the wilderness the less likely there’ll be accommodation. Well, accommodation of the bed/shower and continental breakfast type. With that said there’s nothing better than getting remote and away from it all. But you’ll want to ensure you’ve got some vital pieces of equipment before doing so.
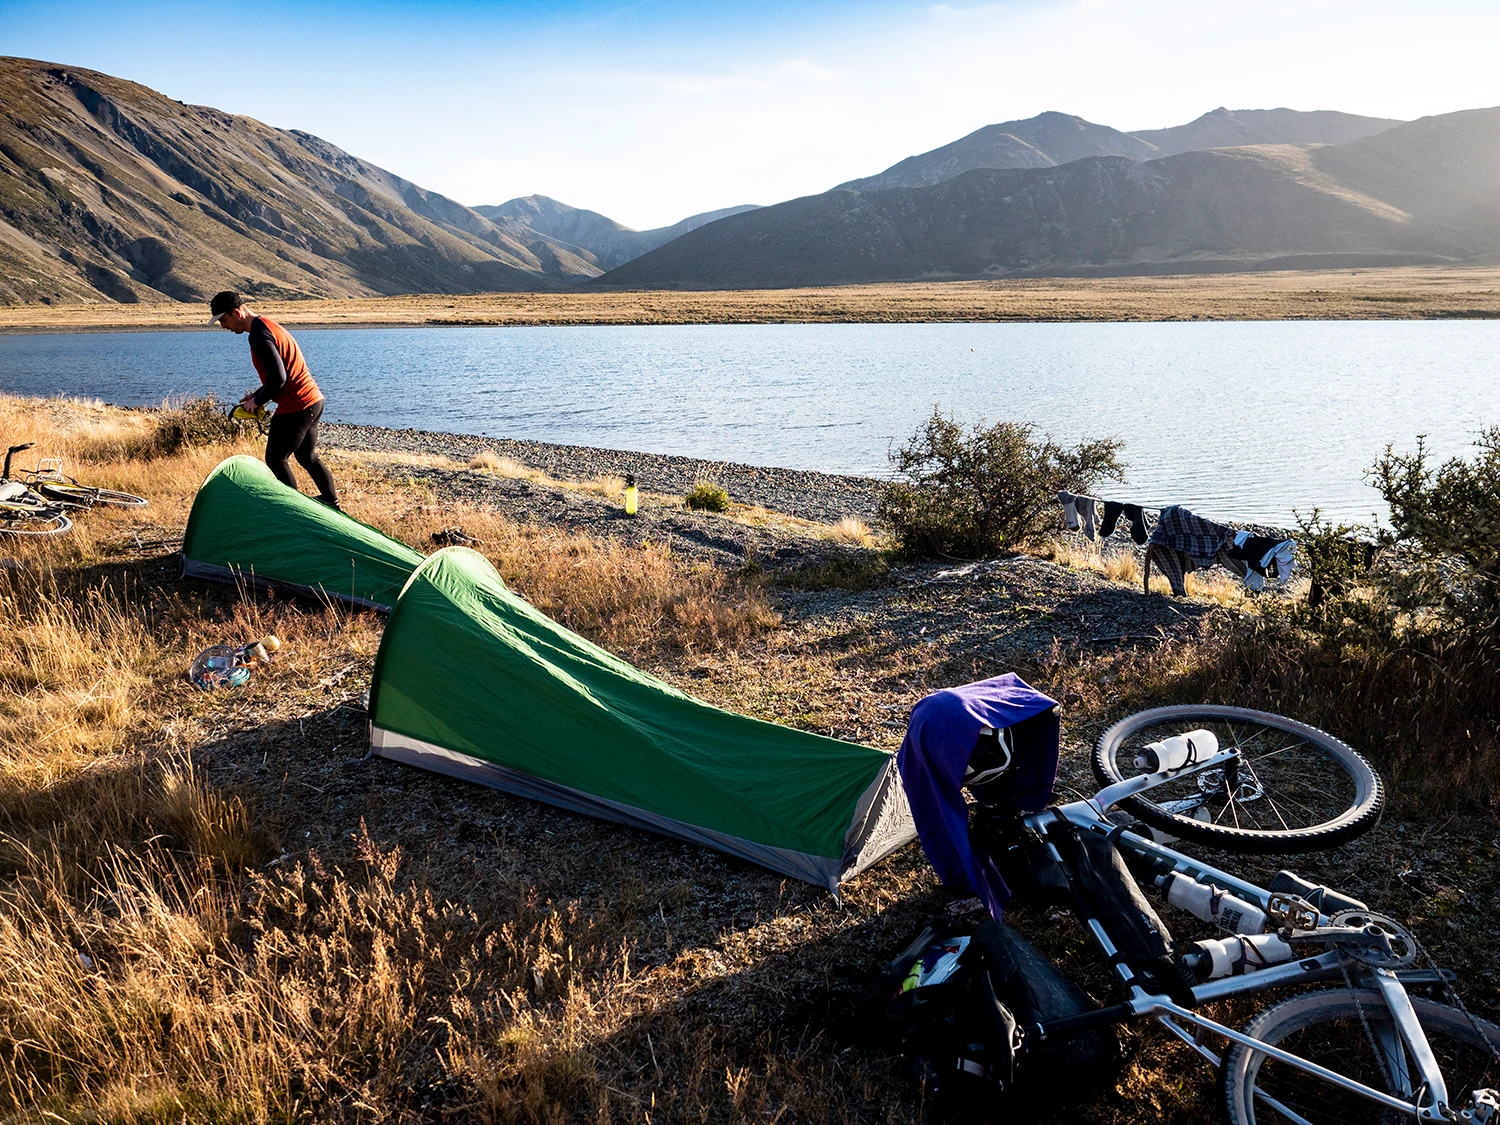
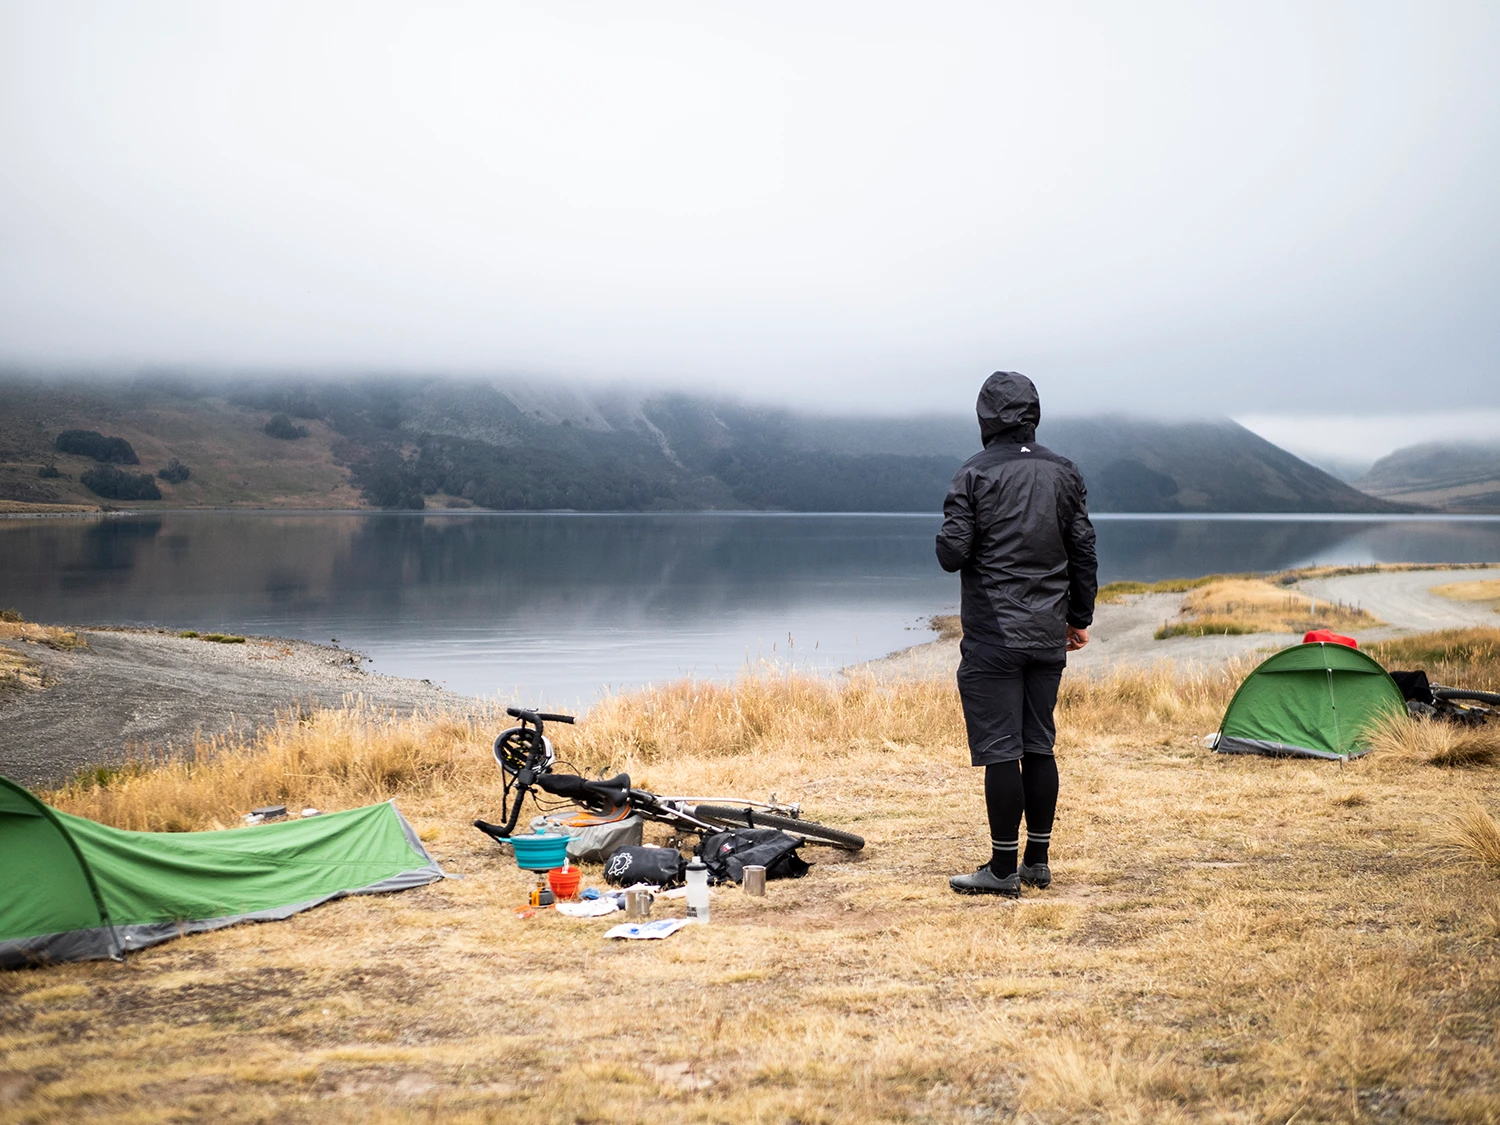
The Tent – We recommend investing in a robust, lightweight, waterproof, and modern tent. Ok, so you might have one stashed away from the ’80s but those ones are often bulky and heavy. The tent can be anything from a bivvy to a two-person tent with awning. Bear in mind who’ll be sleeping in the tent and what gear you want to be stashed away in the tent during the evenings. The bivvy-style is great for just sleeping and not much else. Whereas a bigger tent provides a bit more space and places to put things, but you have the added weight. If you have two people on the bikepacking trip a two-person tent can work well – one person takes the tent and the other can take the food.
The Mattress/Sleeping Bag – Ok, so we all know a bad night’s sleep sucks! What’s worse is a bad night’s sleep when you’re on a multi-day bikepacking trip. Trust me, I’ve had a few of those experiences and it’s not pretty or that fun?! So, ensure you’ve got a good setup that’s comfortable. Firstly, quality down sleeping bag will make a major difference to both the weight and packability of your setup. Then think about the climate and then you can work out what weight you’ll need. Secondly, choosing the right sleeping pad can make the difference between getting a solid rest and or a night tossing and turning. So, there might be some hard people out there who don’t need one but for most a sleeping pad is a necessity on any bikepacking trip. And, with our climate, it also keeps you from being damp as there’s a layer between you and the ground. Also, it’s not a bad idea to take a black rubbish bag or similar to give the tent a membrane barrier between you and the ground. It will also help you feel a little warmer too.
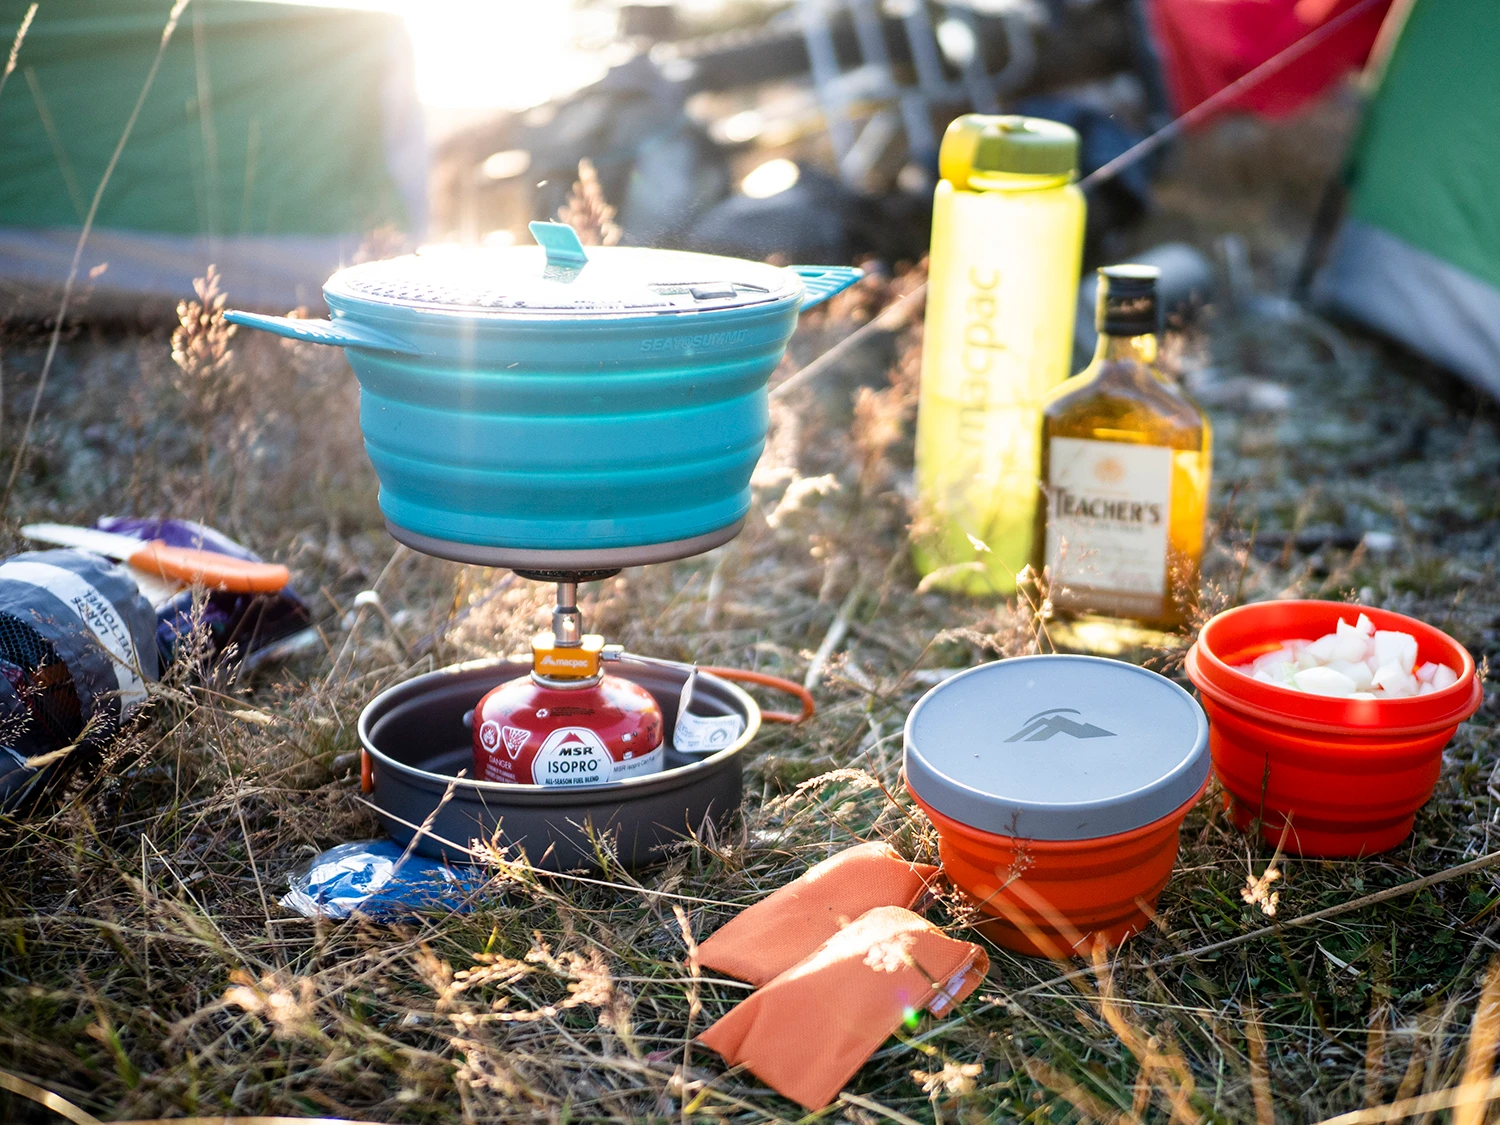
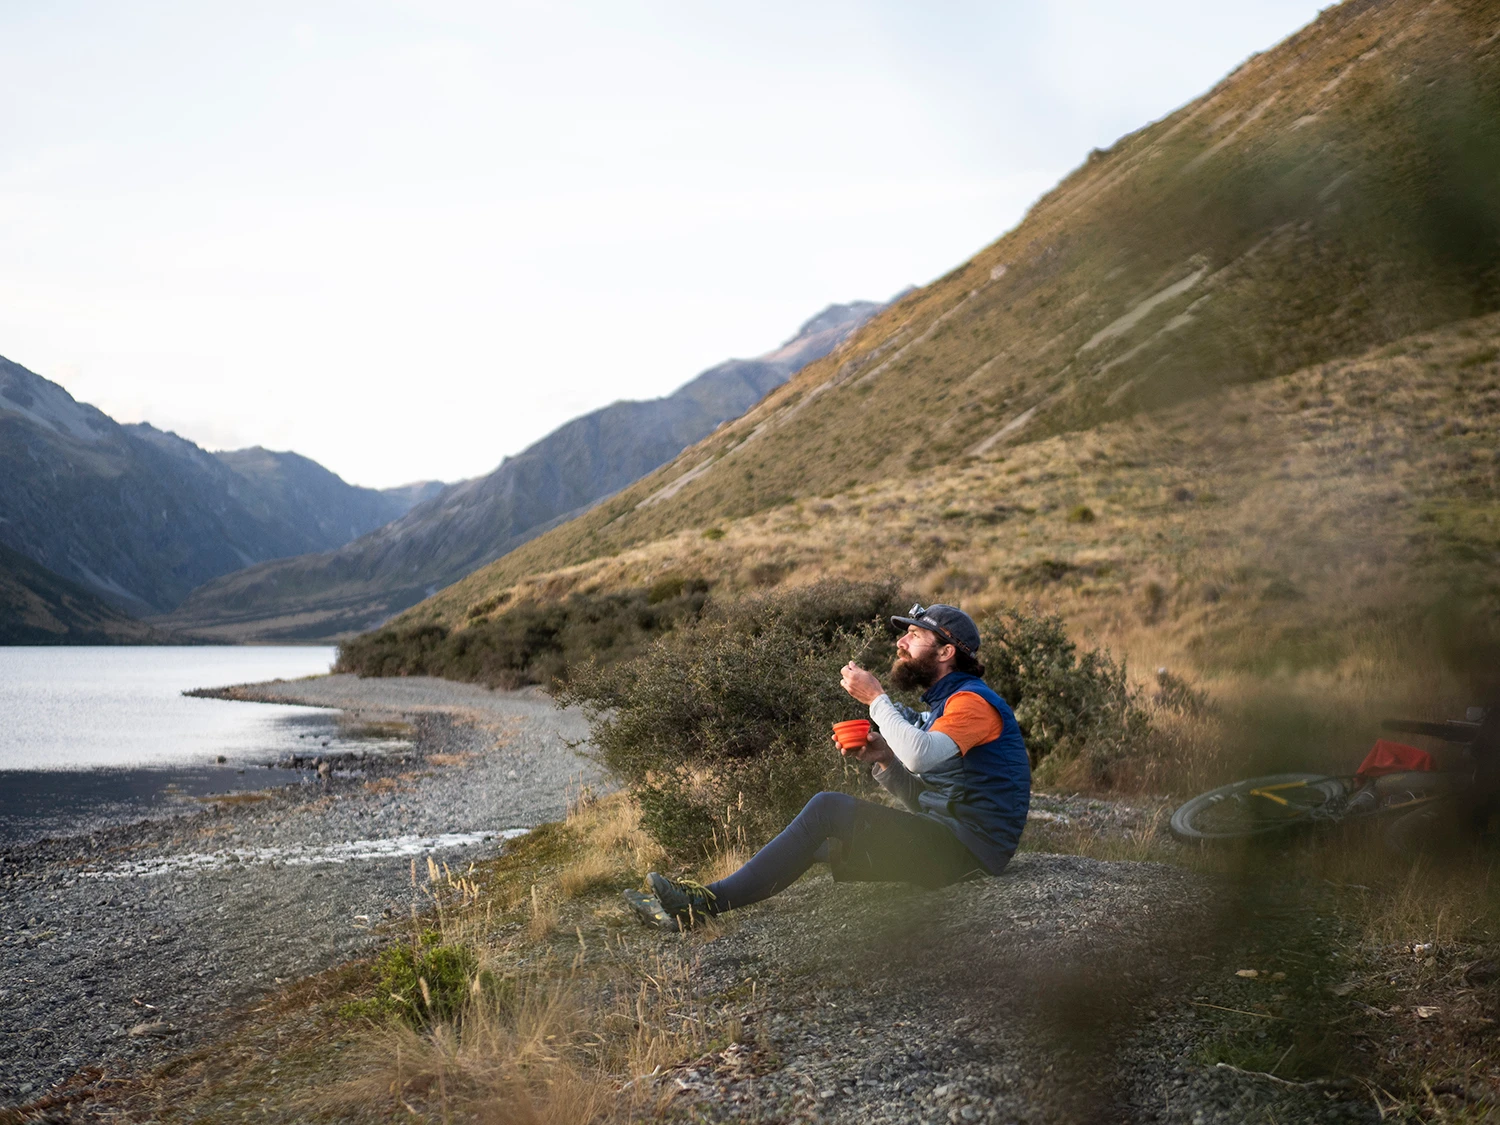
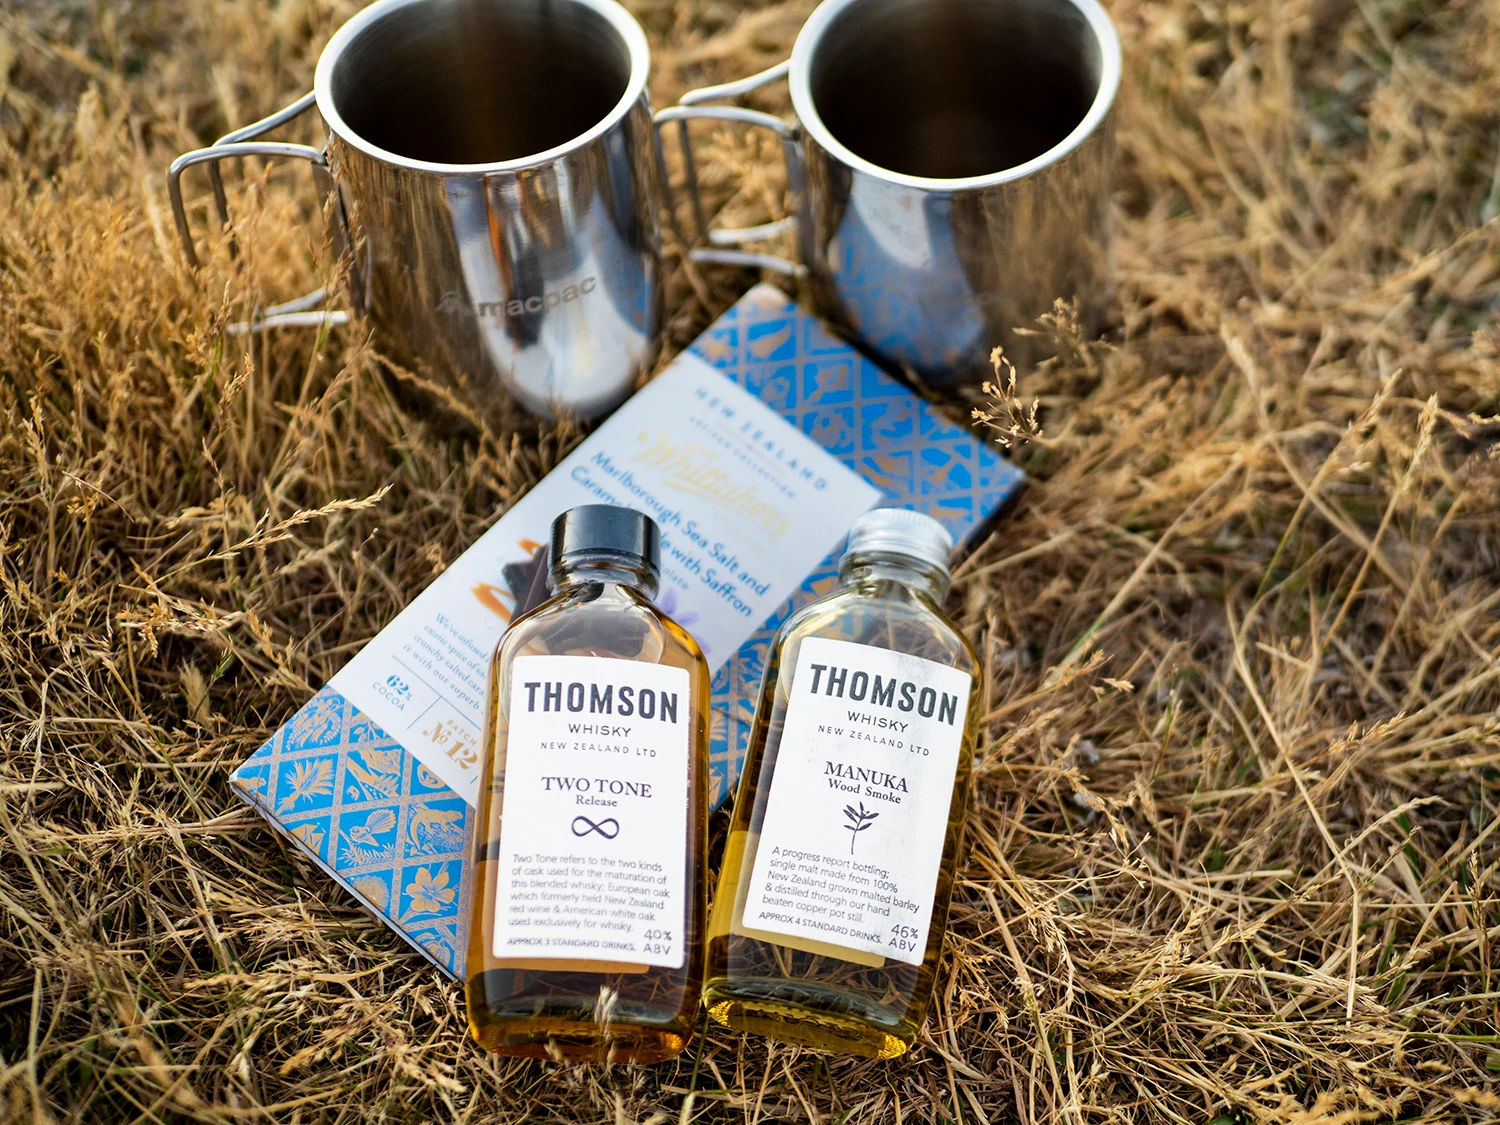
The Camp Kitchen – Well, there’s a plethora of camp kitchen equipment out there. But, just think about what you actually need to cook a decent meal. Keep it minimal but functional and don’t pack the kitchen sink – cause there’s not much space on your rig for large bulky pieces of equipment. There are various compact stoves on the market to suit all price points. You’ll also want a decent pan, stainless mug, a collapsible bowl, spork, and any other essentials. We liked two mini stoves with two pots on the go for on our adventure – it meant you could cook a hearty meal in a short amount of time. That’s the key – to get the fuel straight in after the long day in the saddle.